
The Course

Hole by Hole

18 Holes · Par 72

AARoundRoundUnlikeUnlikeAnyAnyOtherOther

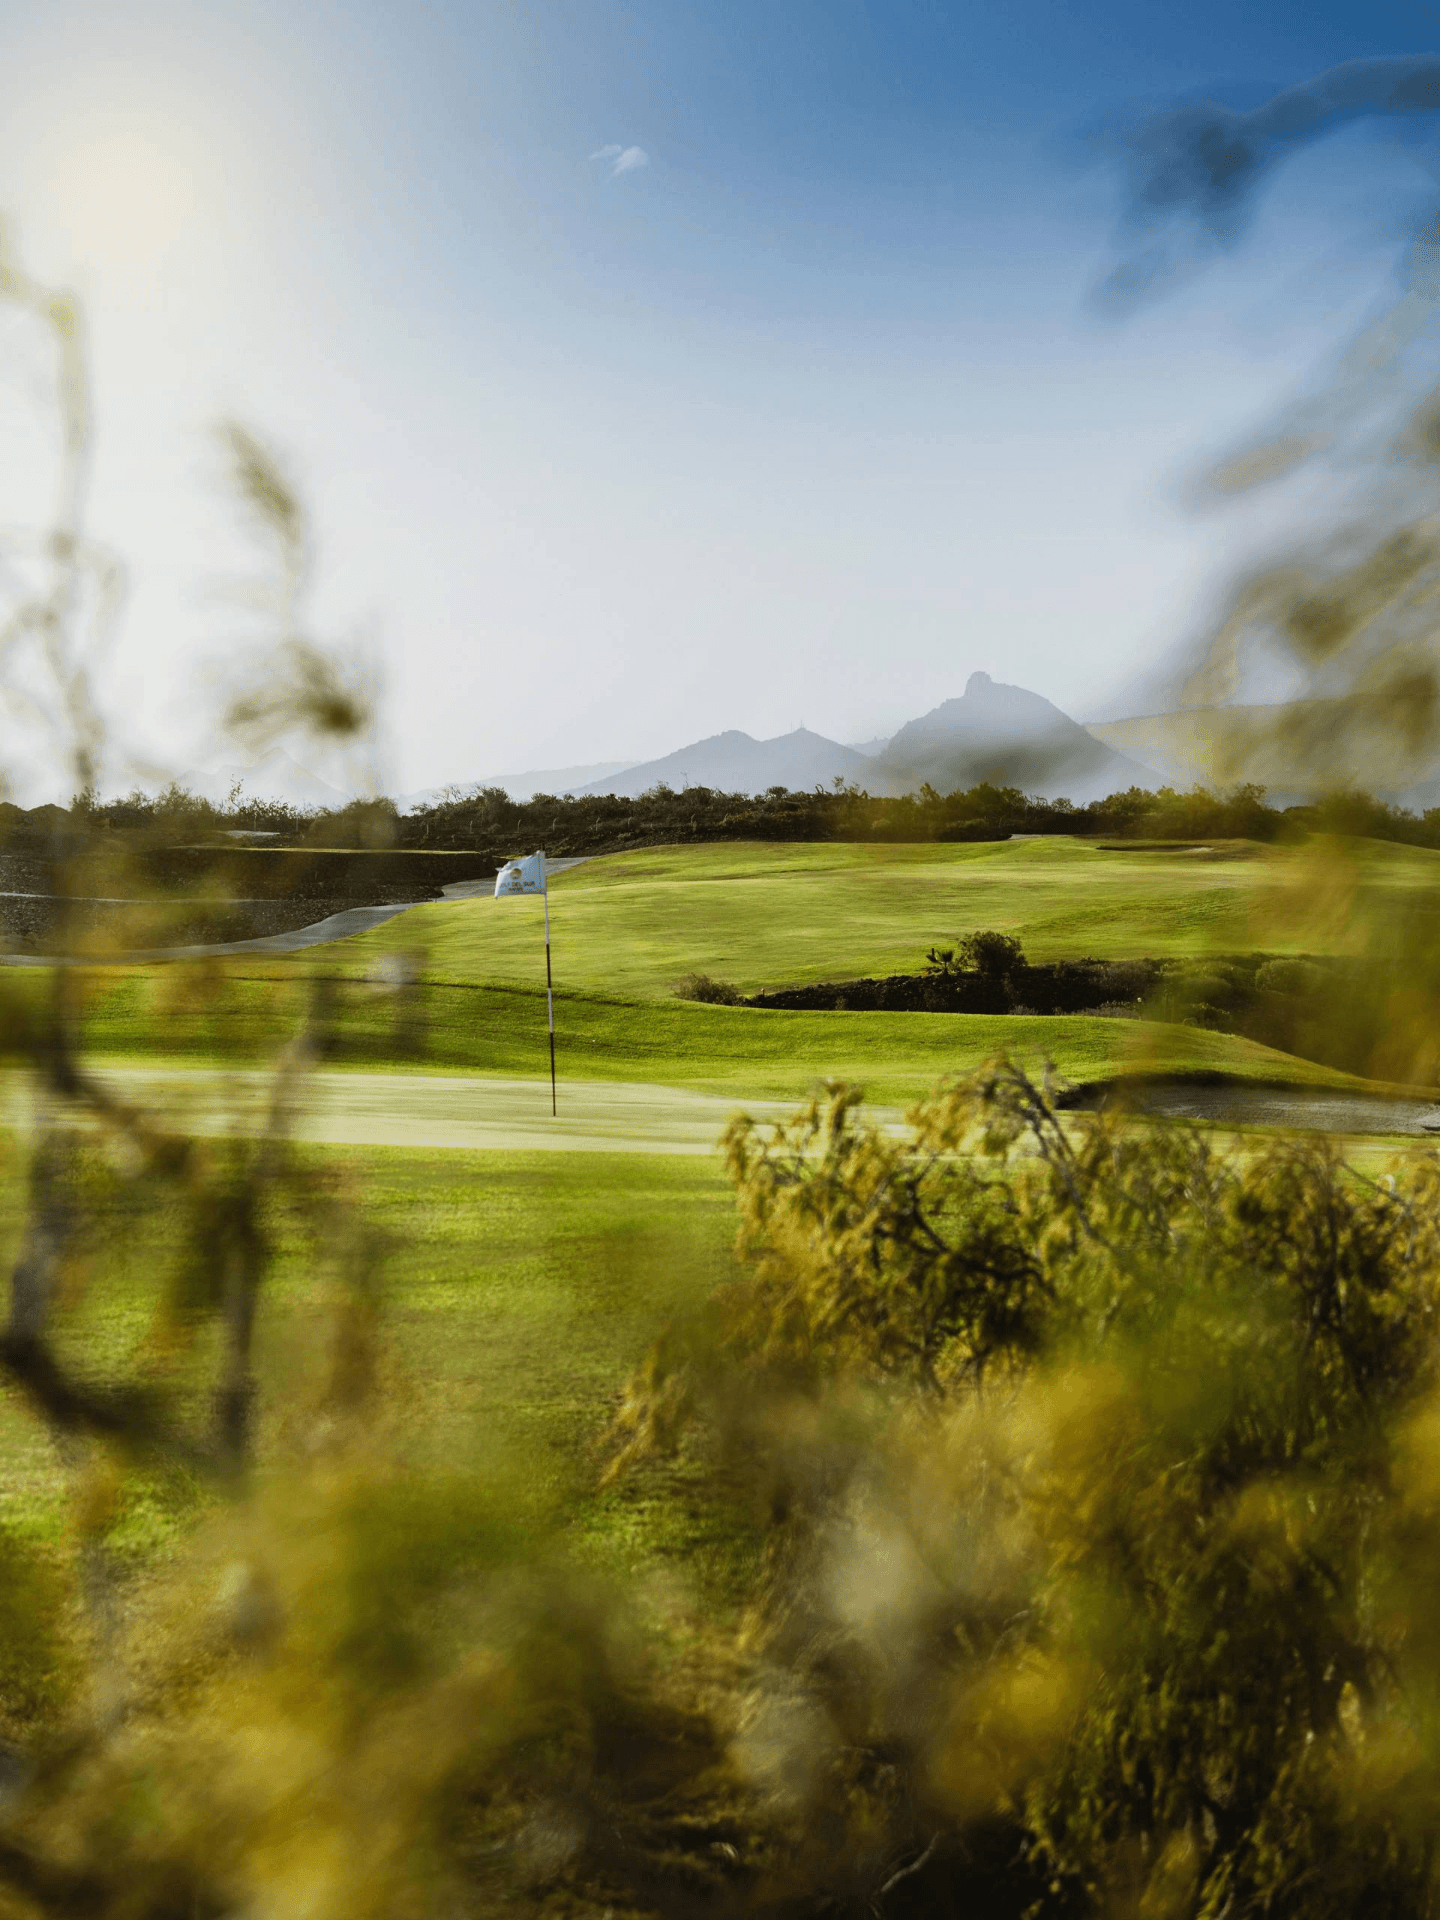
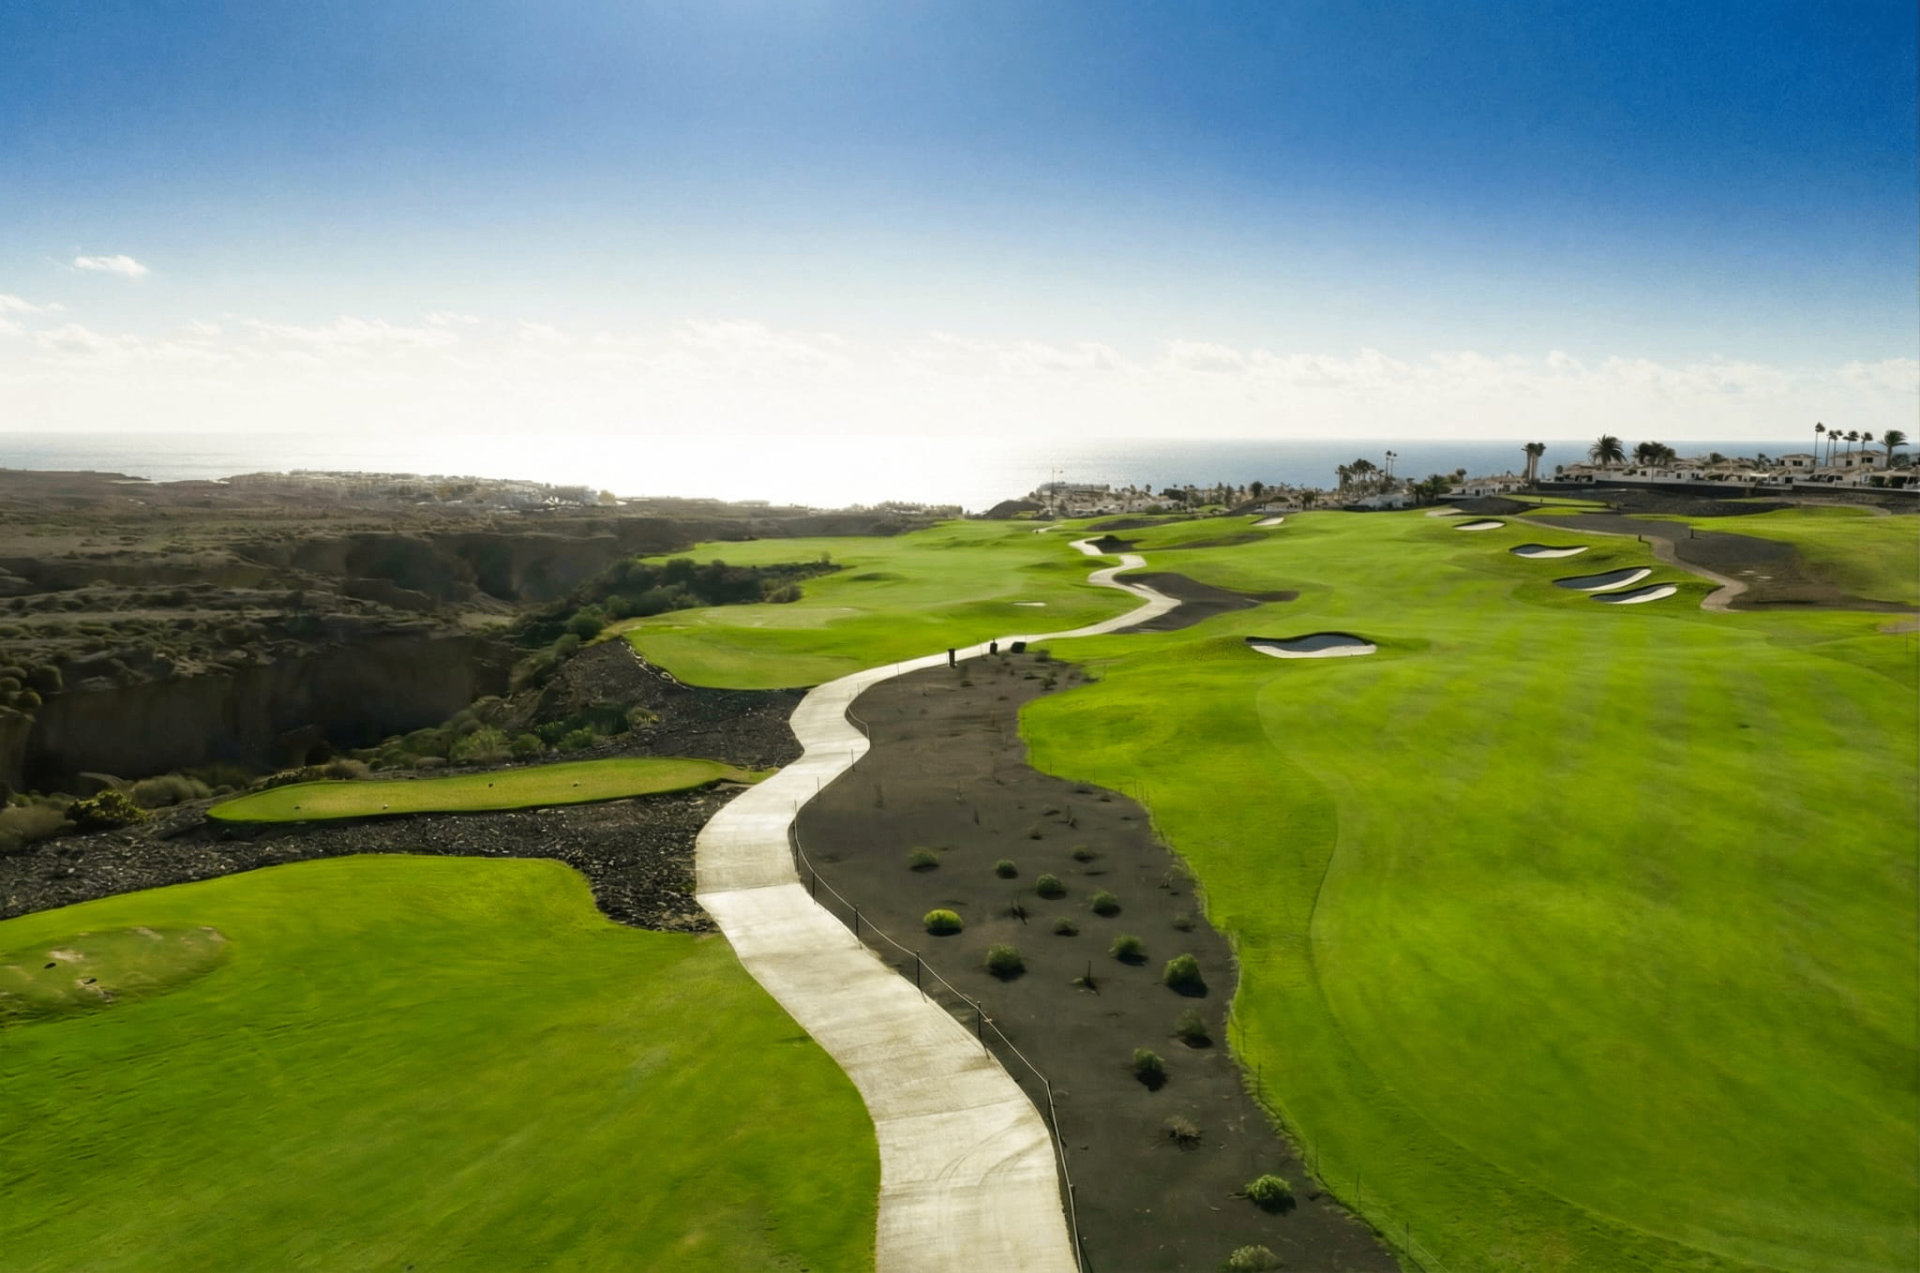
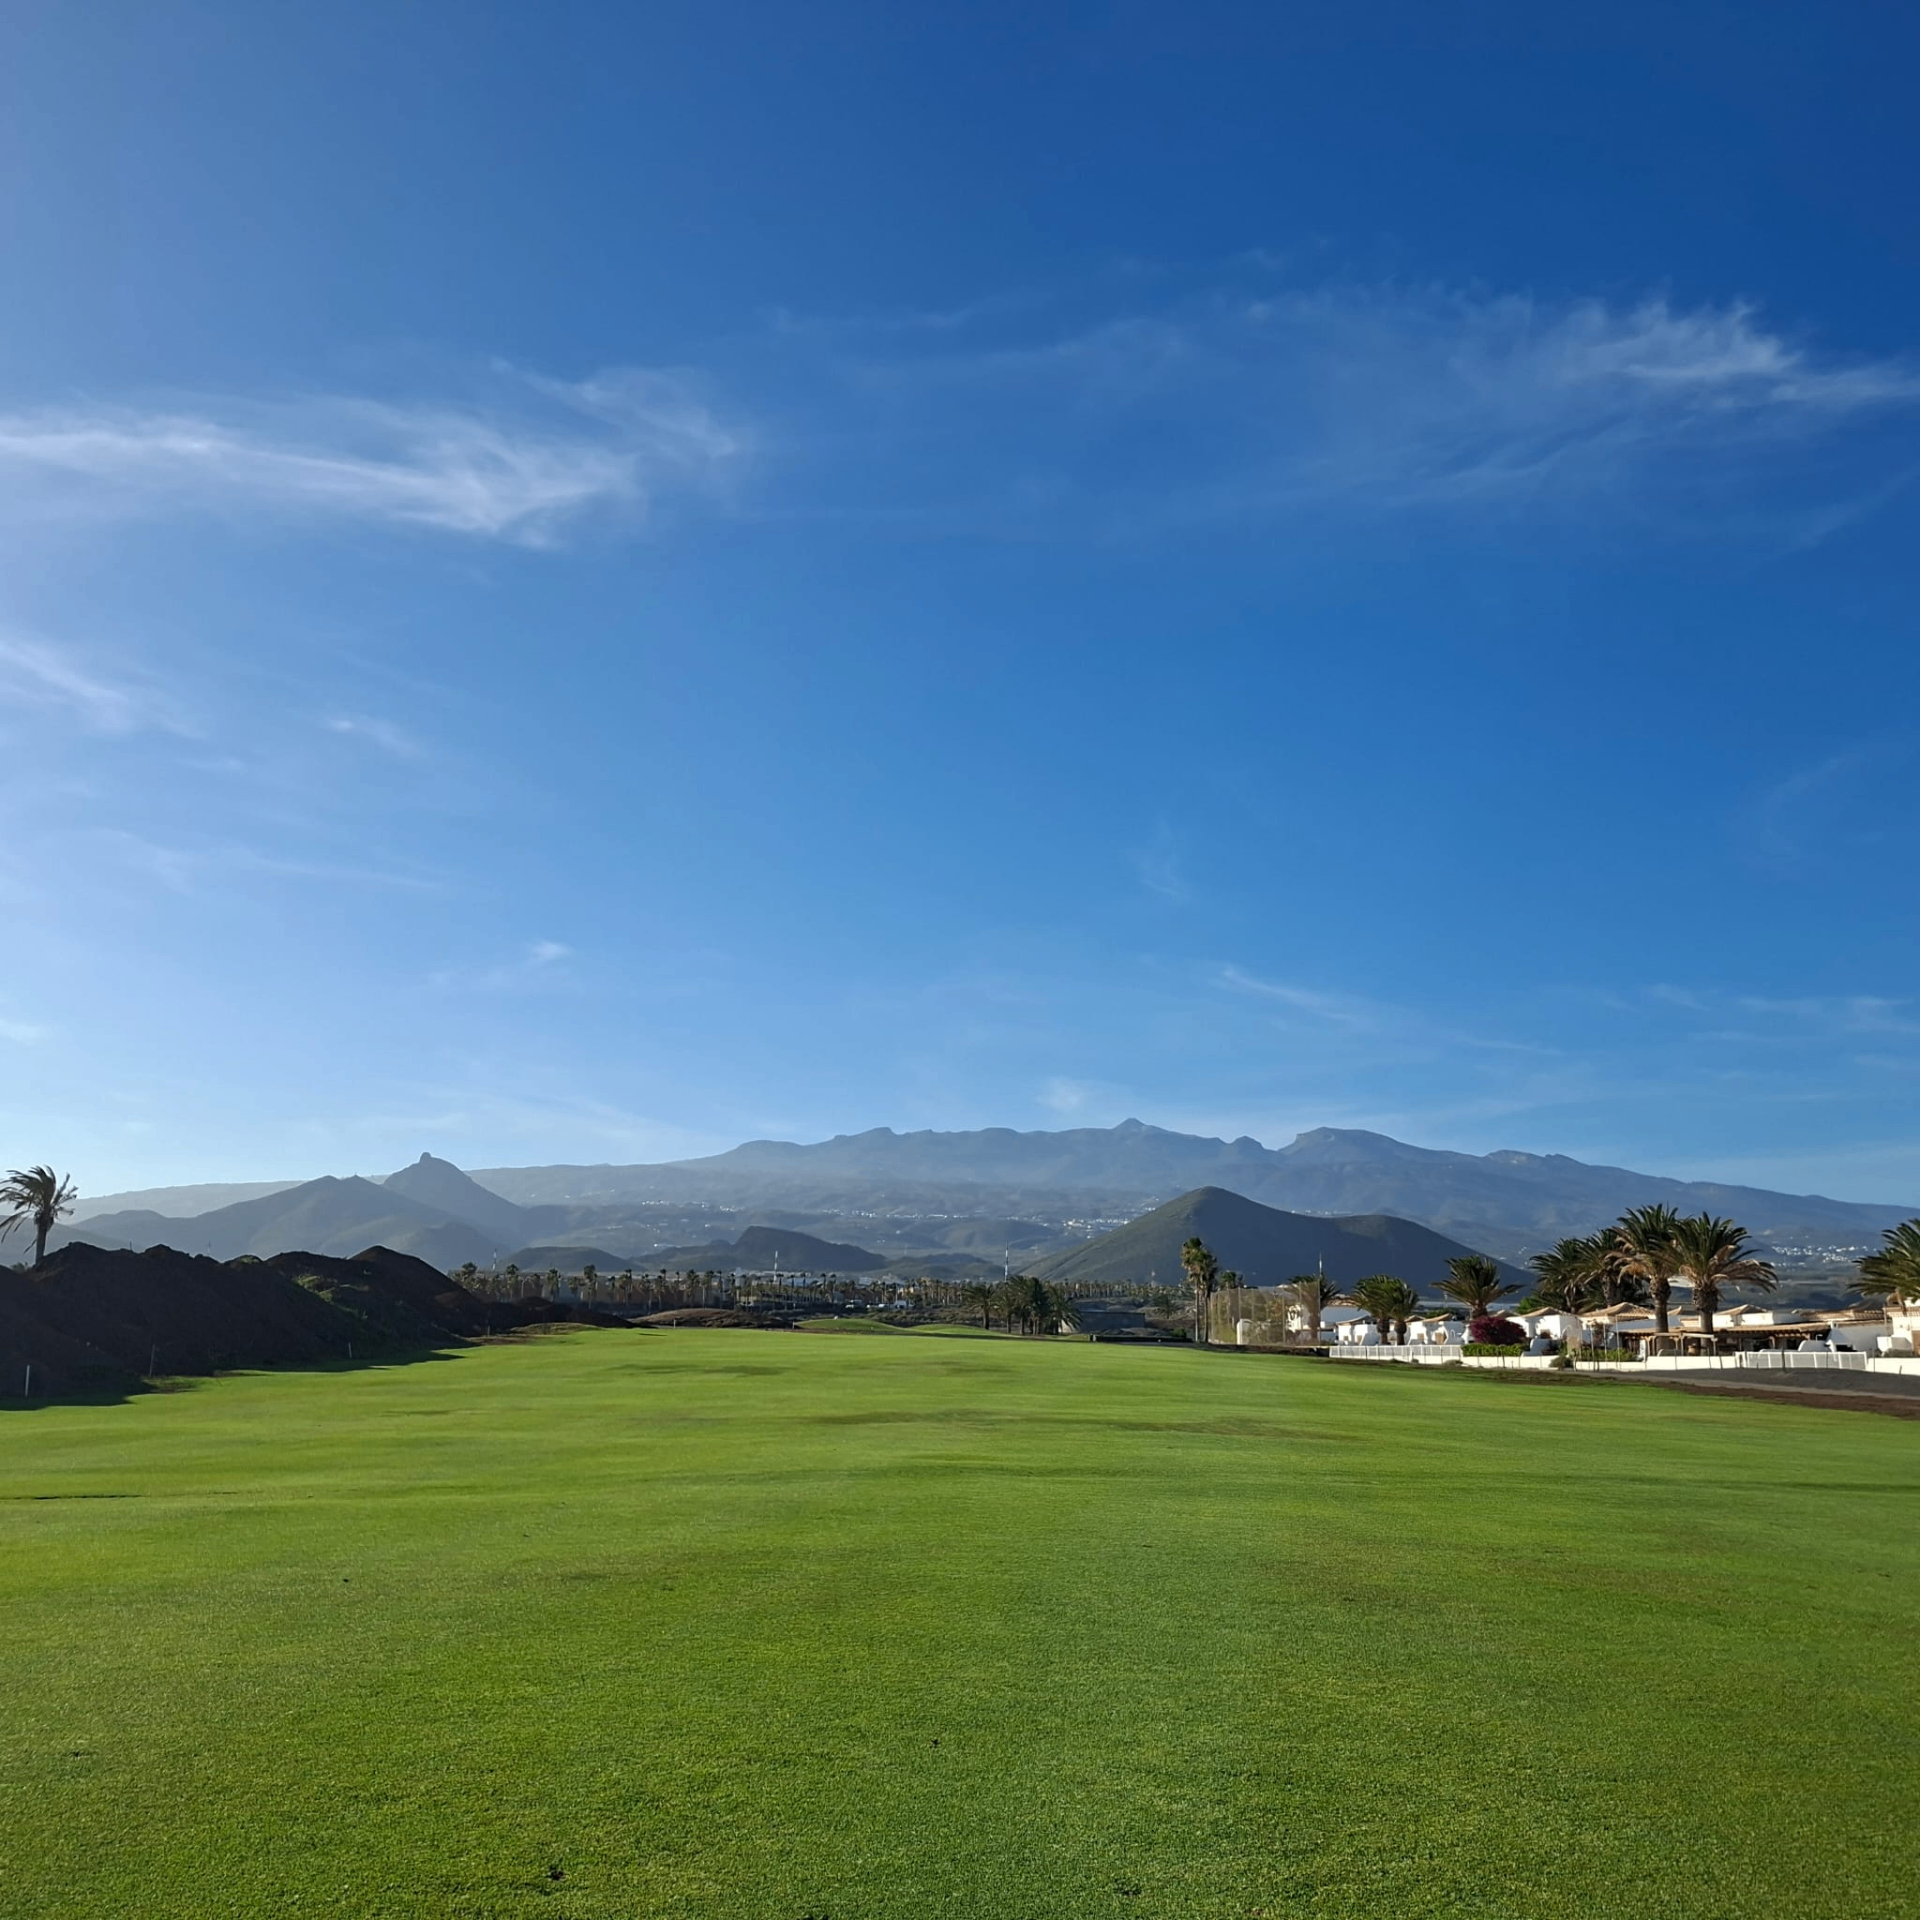
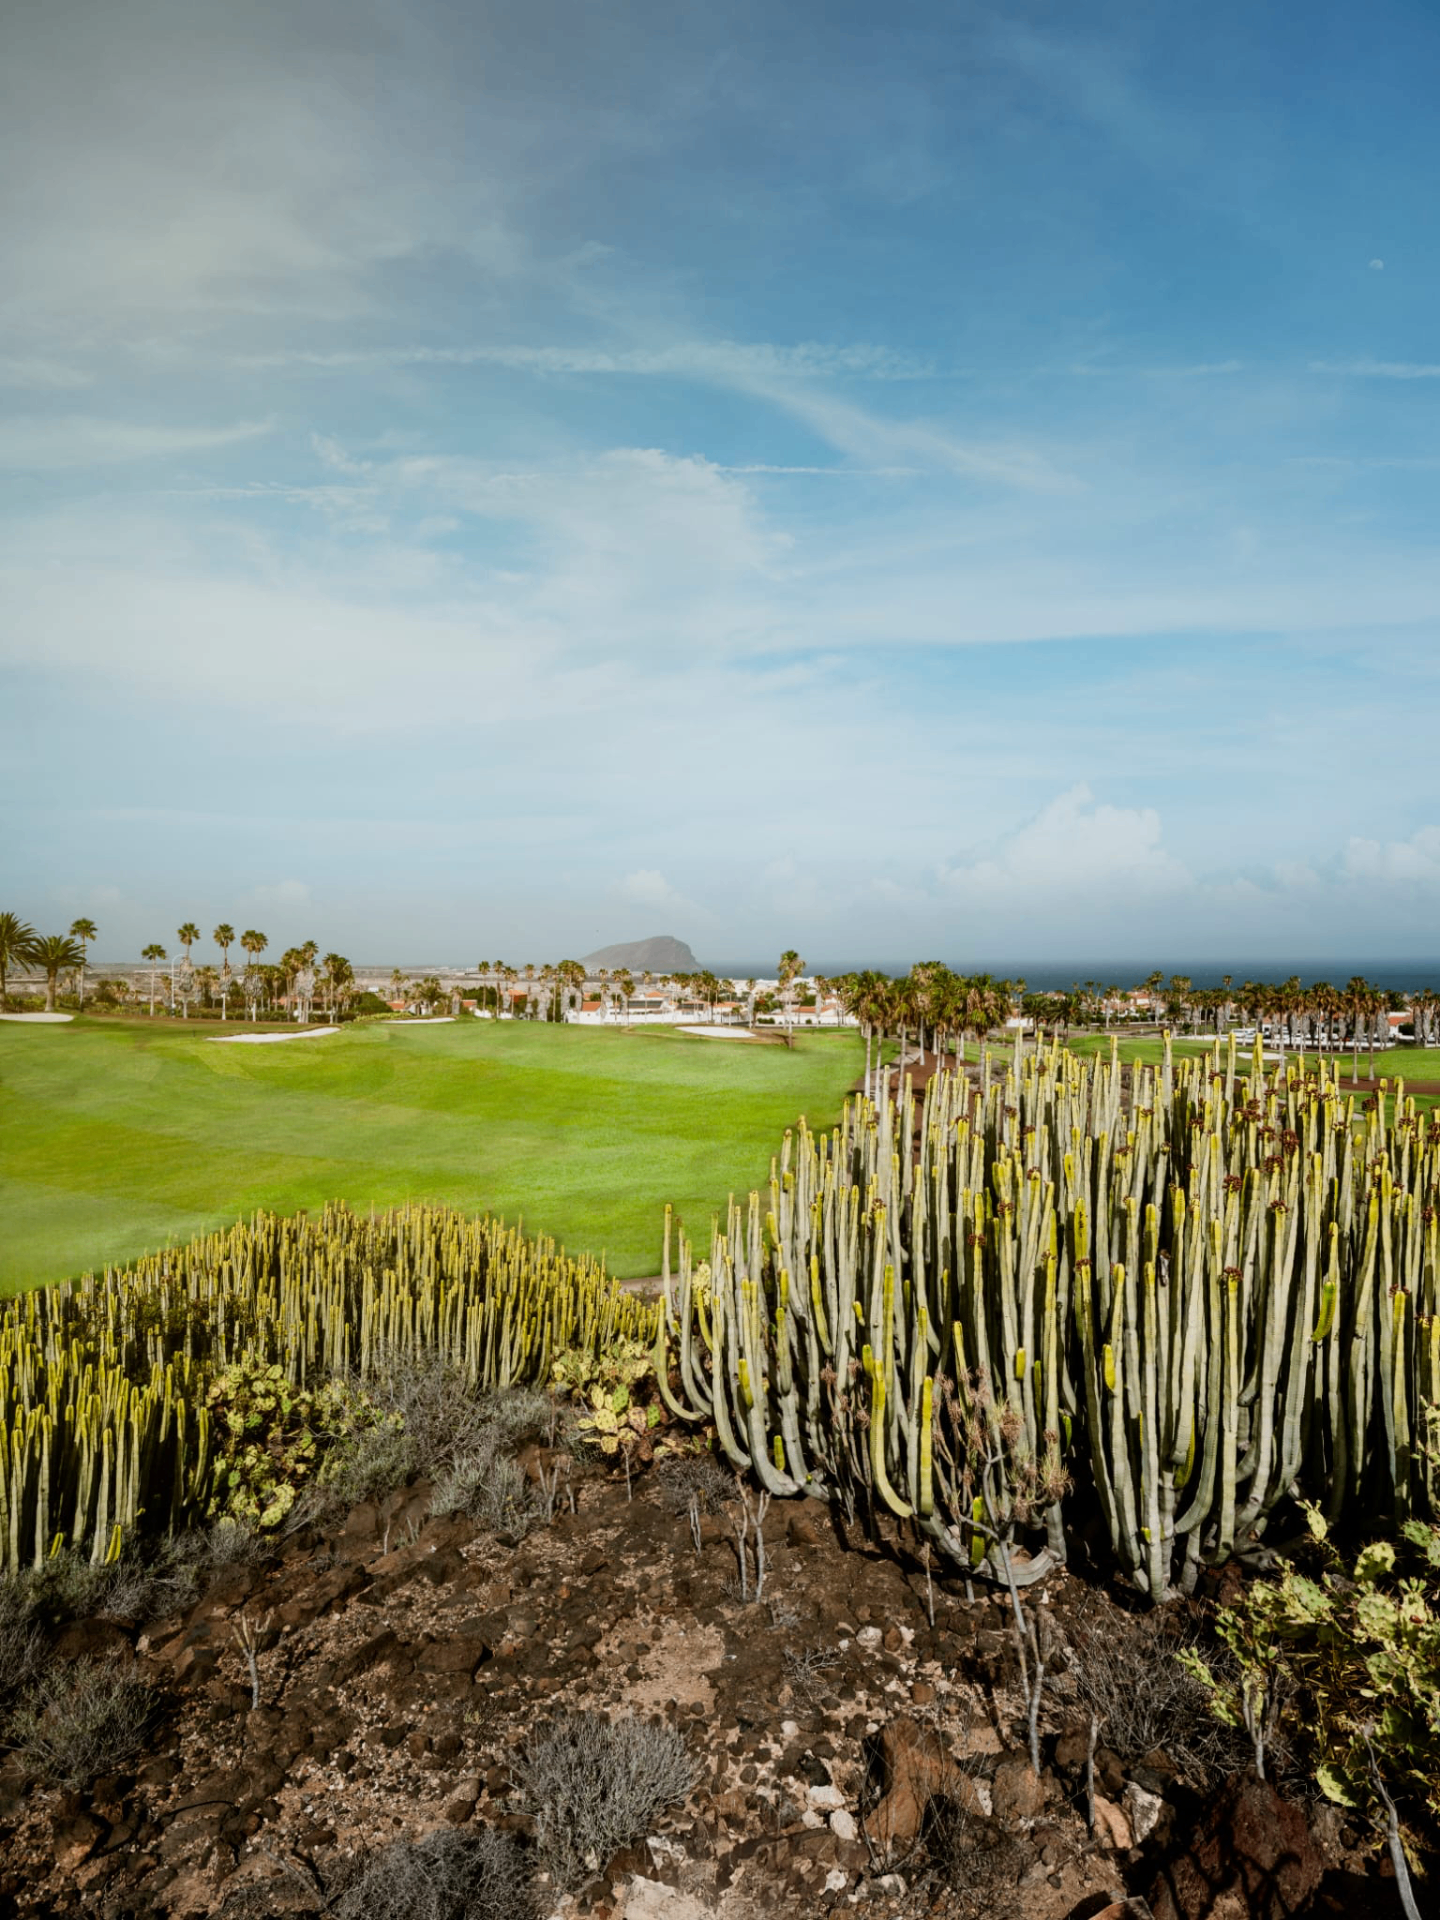
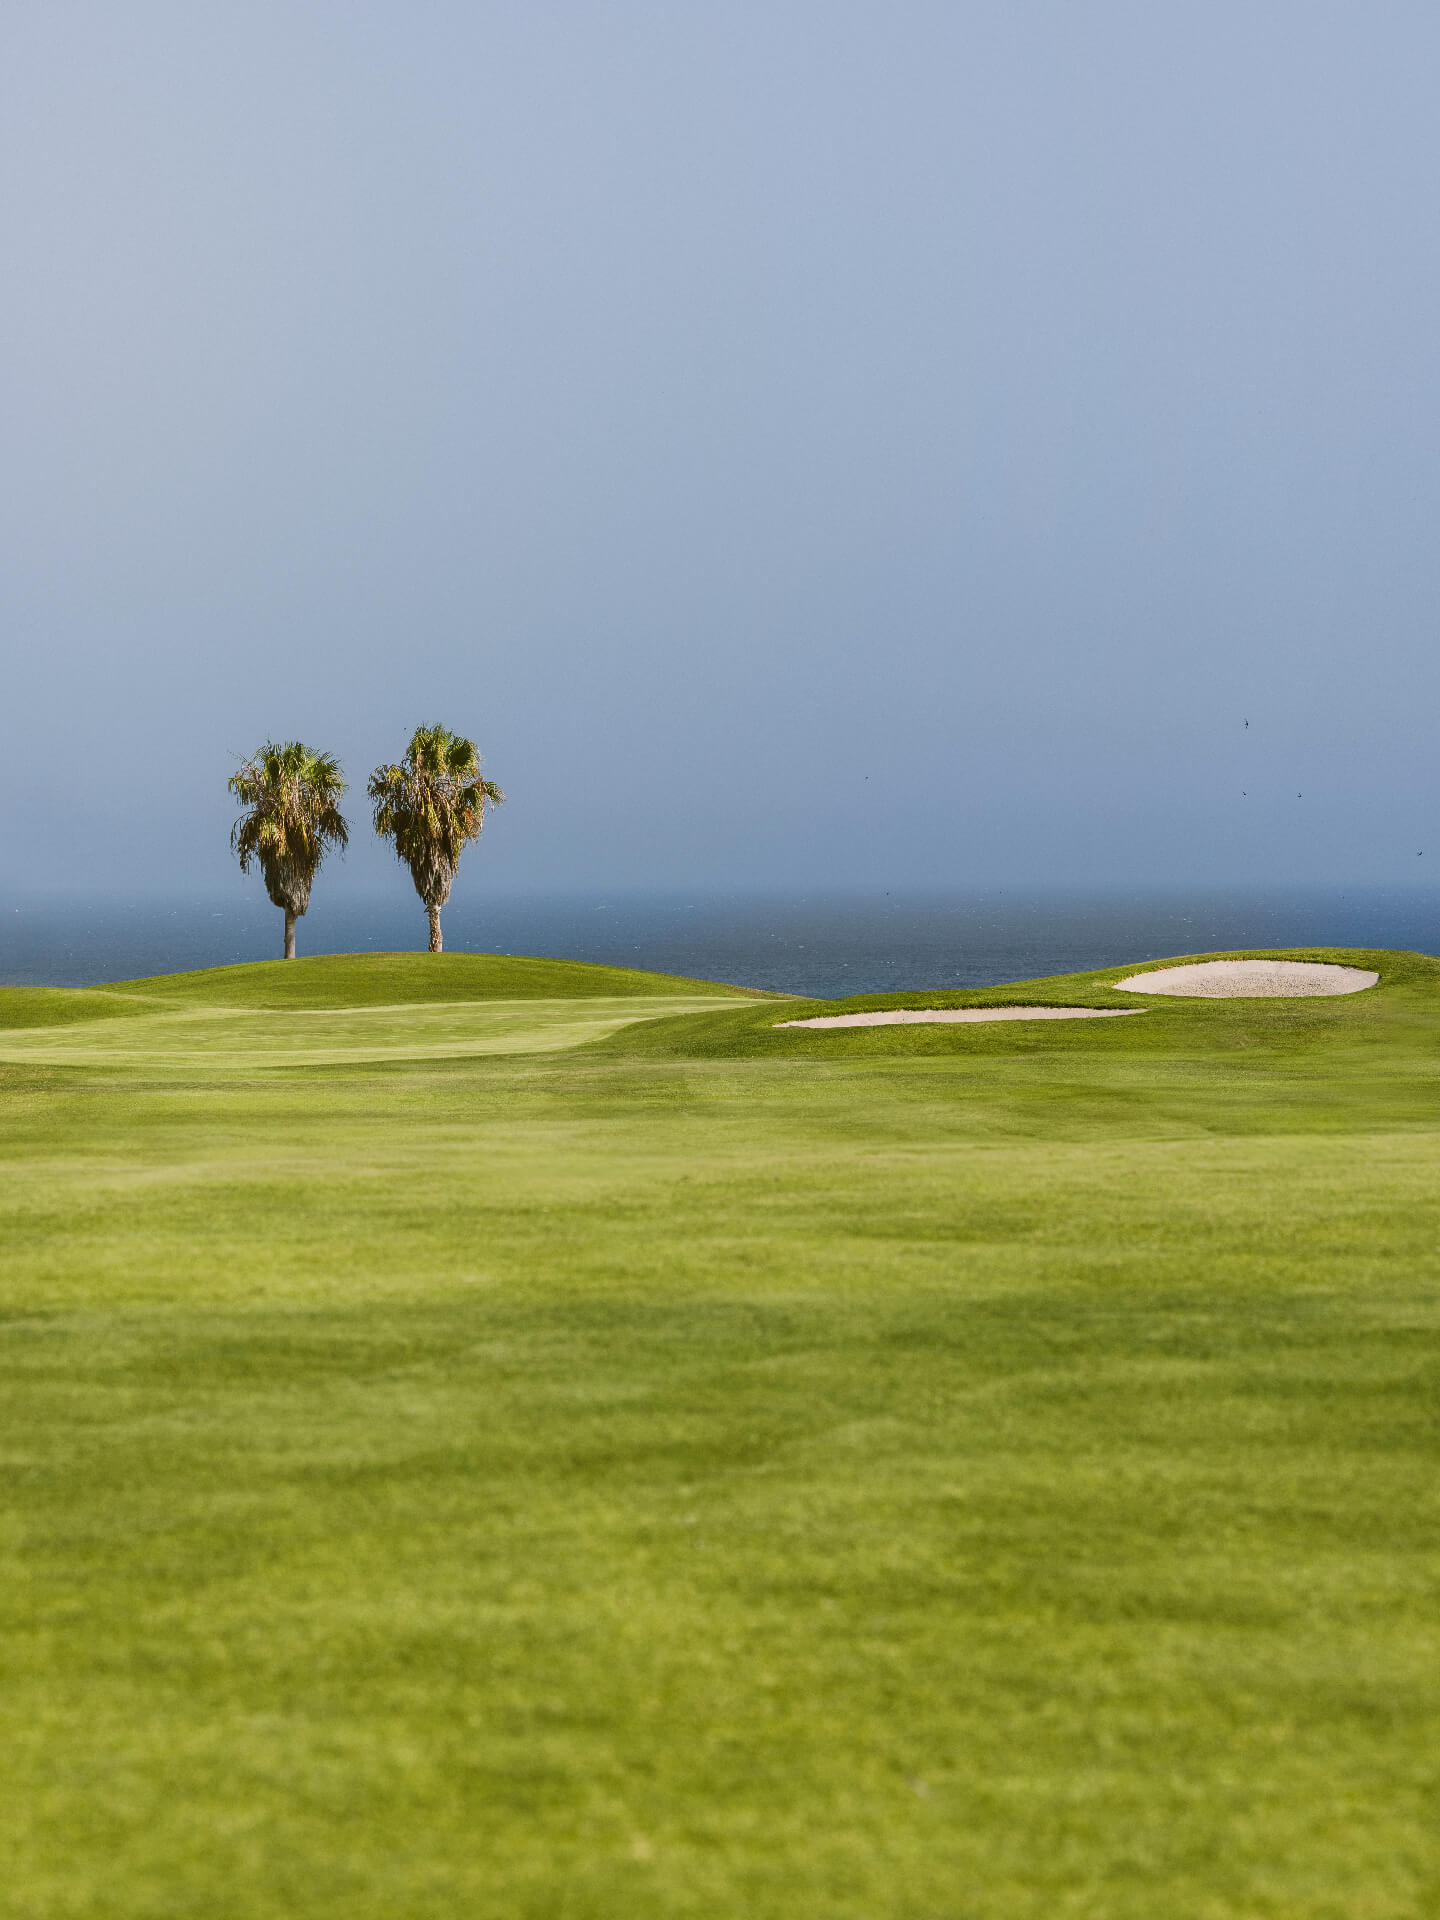
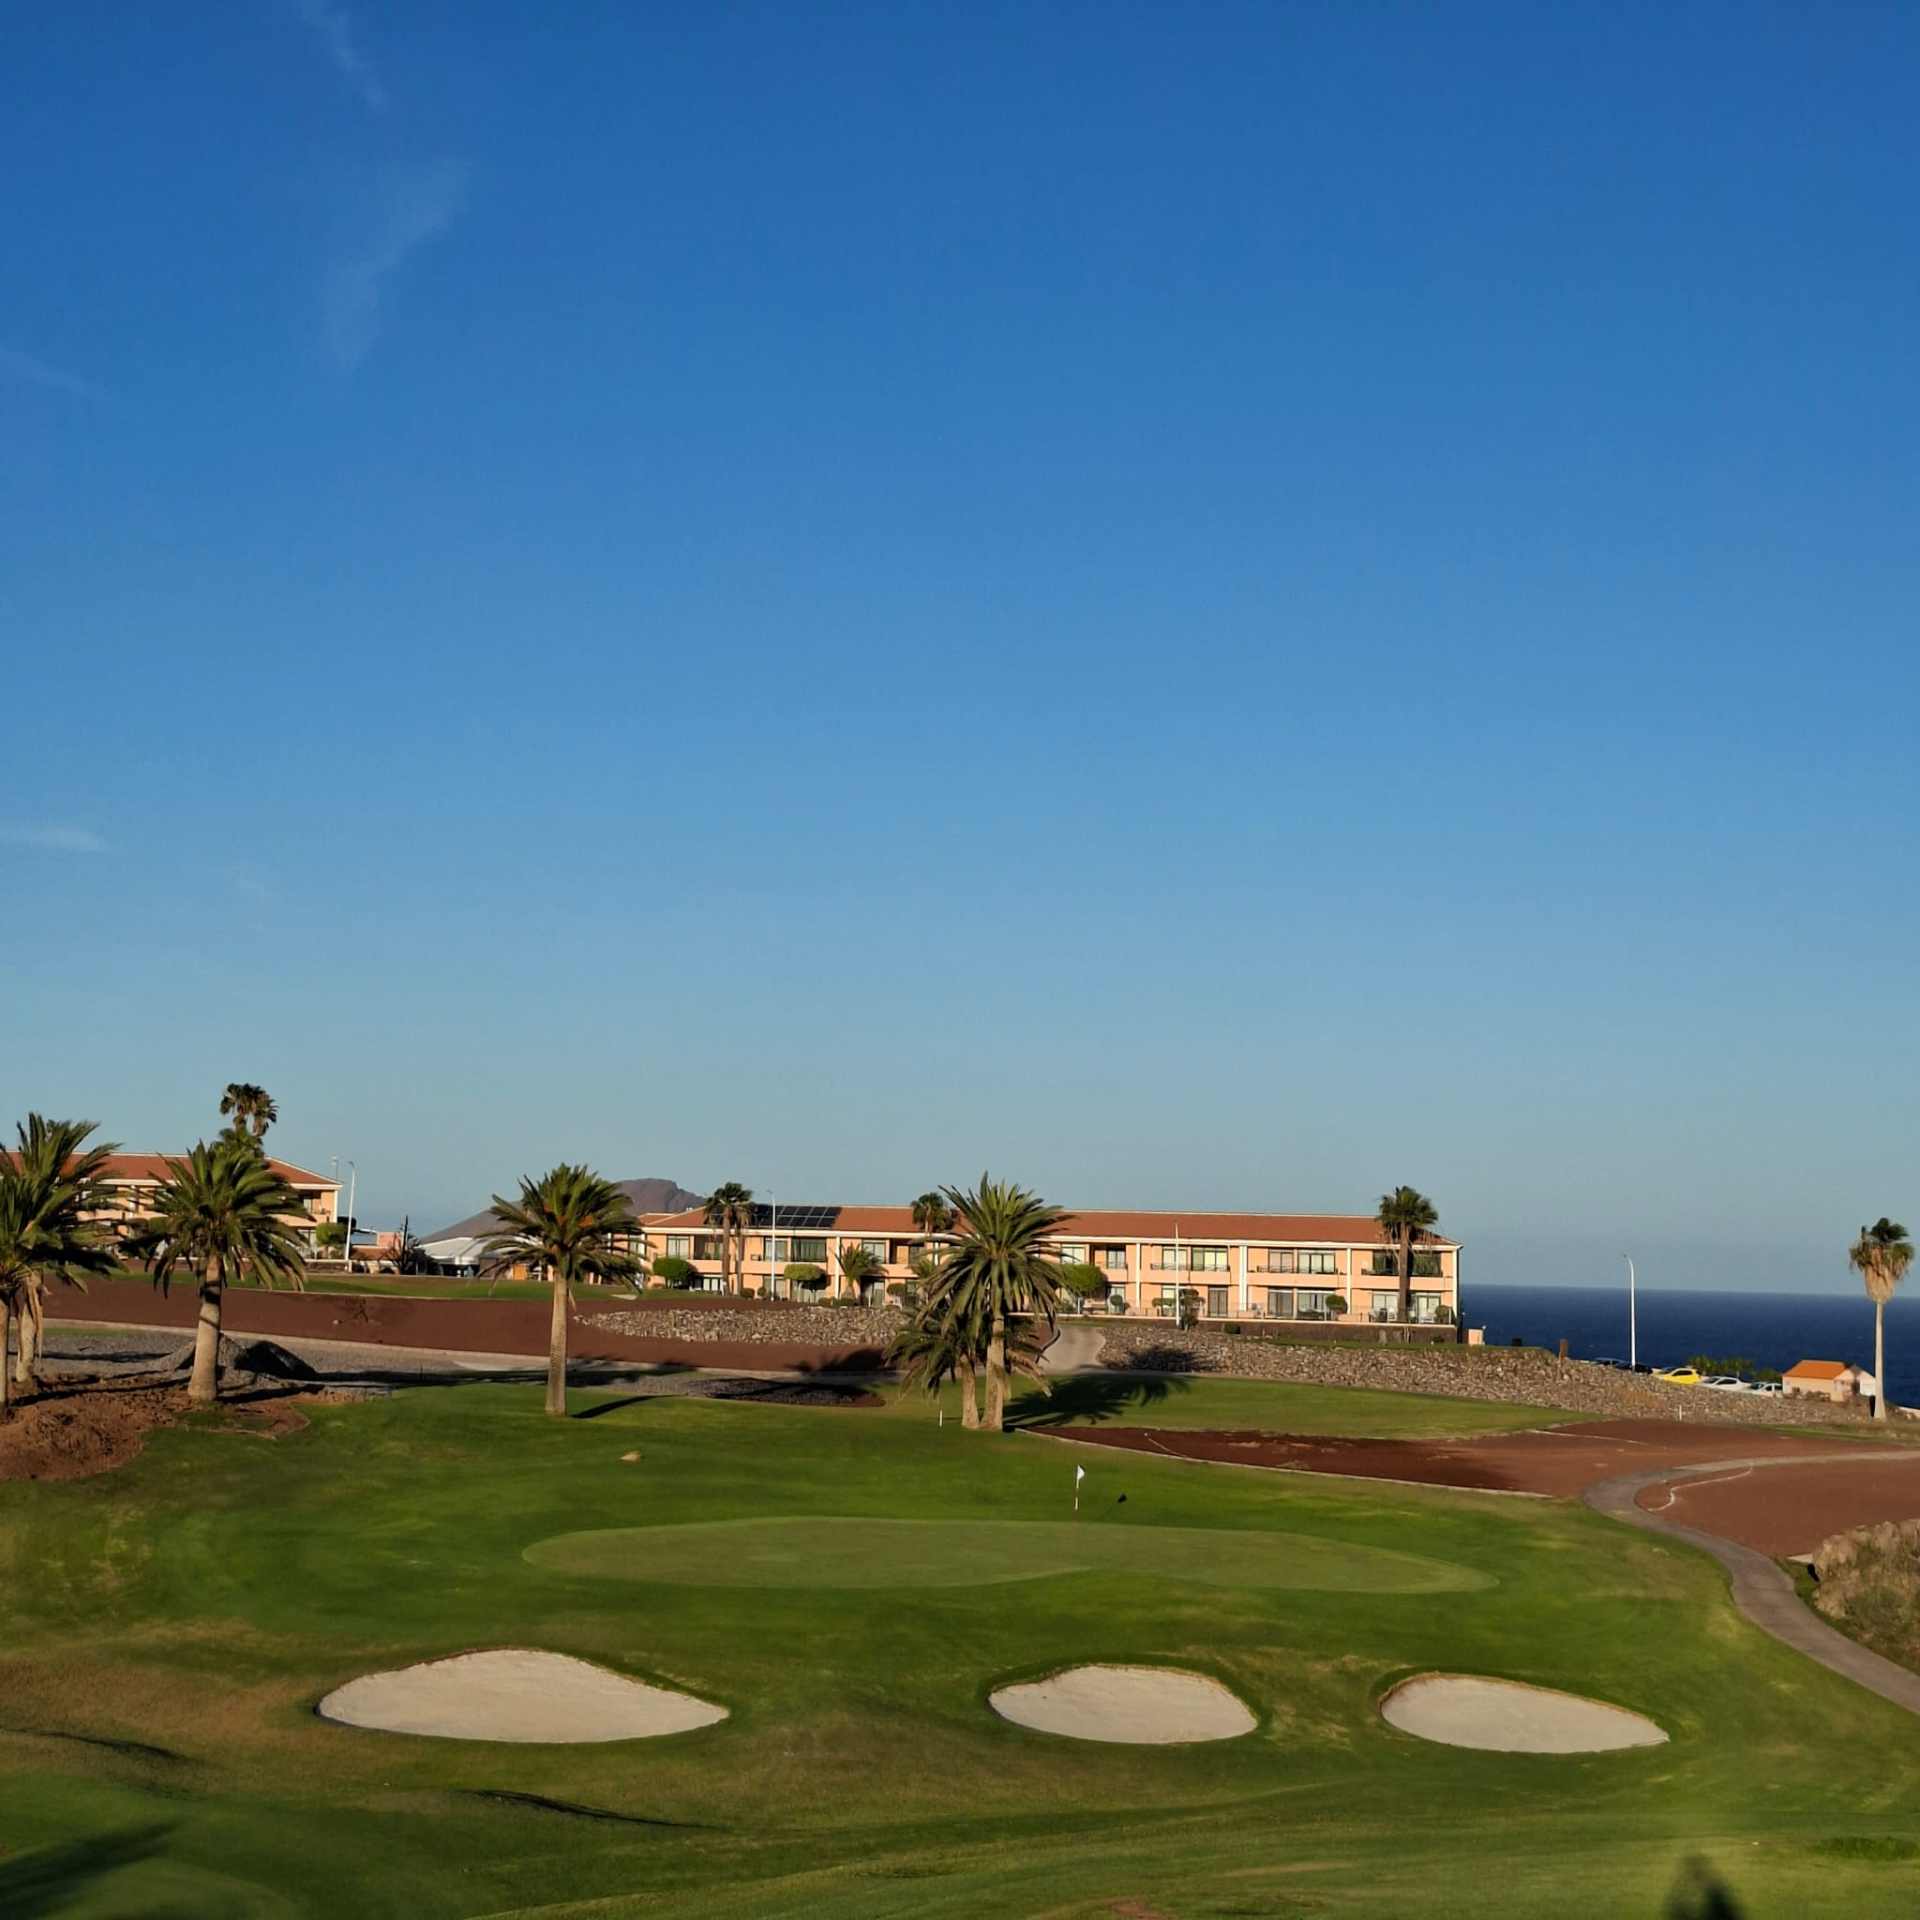
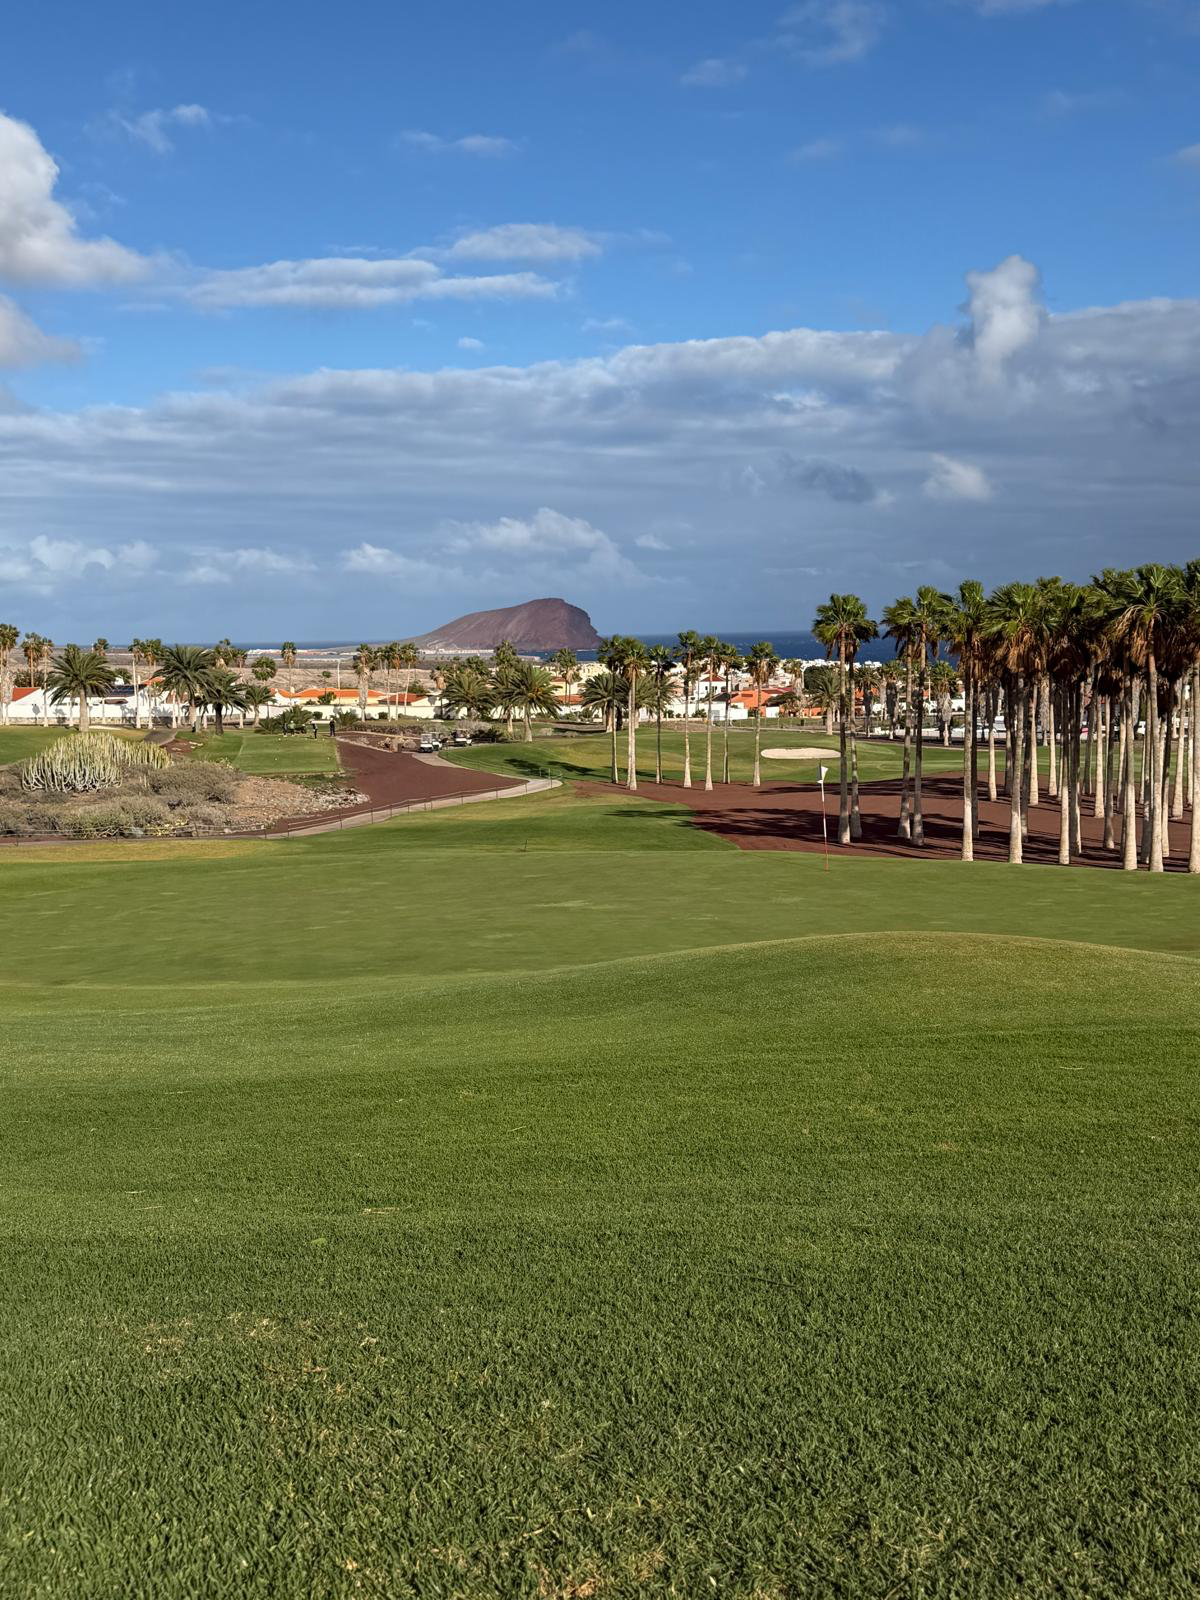
Designed by Pepe Gancedo and masterfully remodelled by Manuel Piñero, Golf del Sur's 18 holes weave through volcanic ravines, trade winds and Atlantic panoramas. Each hole tells its own story — and demands its own strategy.

Holes 1–9
Front Nine
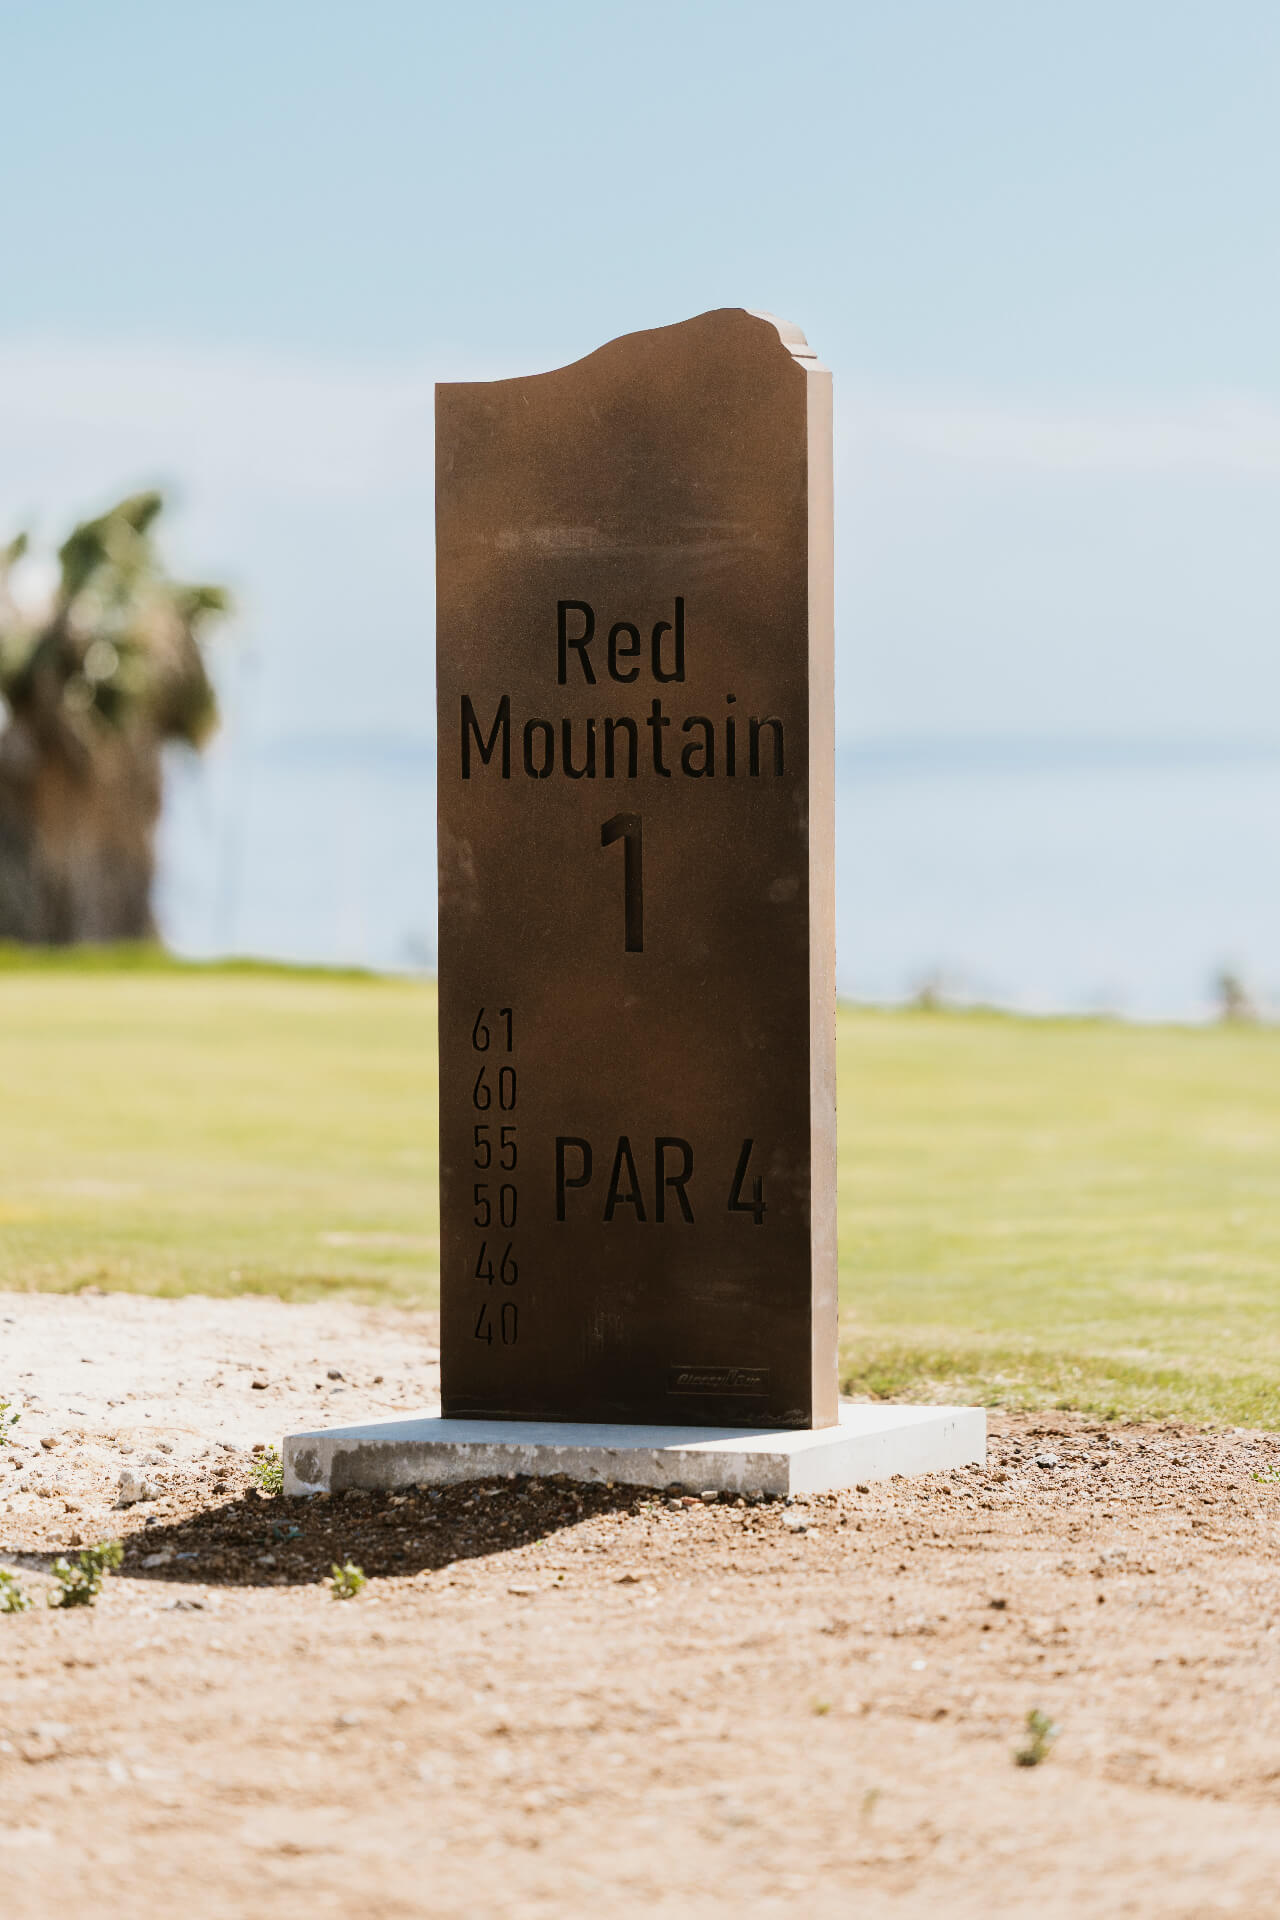
Hole 1 — Red Mountain
01
Par 4
Hole 1

Red Mountain

A demanding par 4 with several fairway bunkers on both sides. The hole plays with a significant slope, and the key is to hit a solid tee shot that allows you to see the green from above. The green breaks from right to left, and ideally you want to carry the bunker on the right.

Key Strategy

Hit solid off the tee — elevation reveals the green.

Hole 2 — Alisio
02
Par 3
Hole 2

Alisio

A short par 3 with two bunkers protecting the green. The green breaks from right to left, and club selection can be difficult due to the wind. Although short, this hole is tricky because the tee shot is very exposed to the trade winds.

Key Strategy

Let the wind guide your club selection.

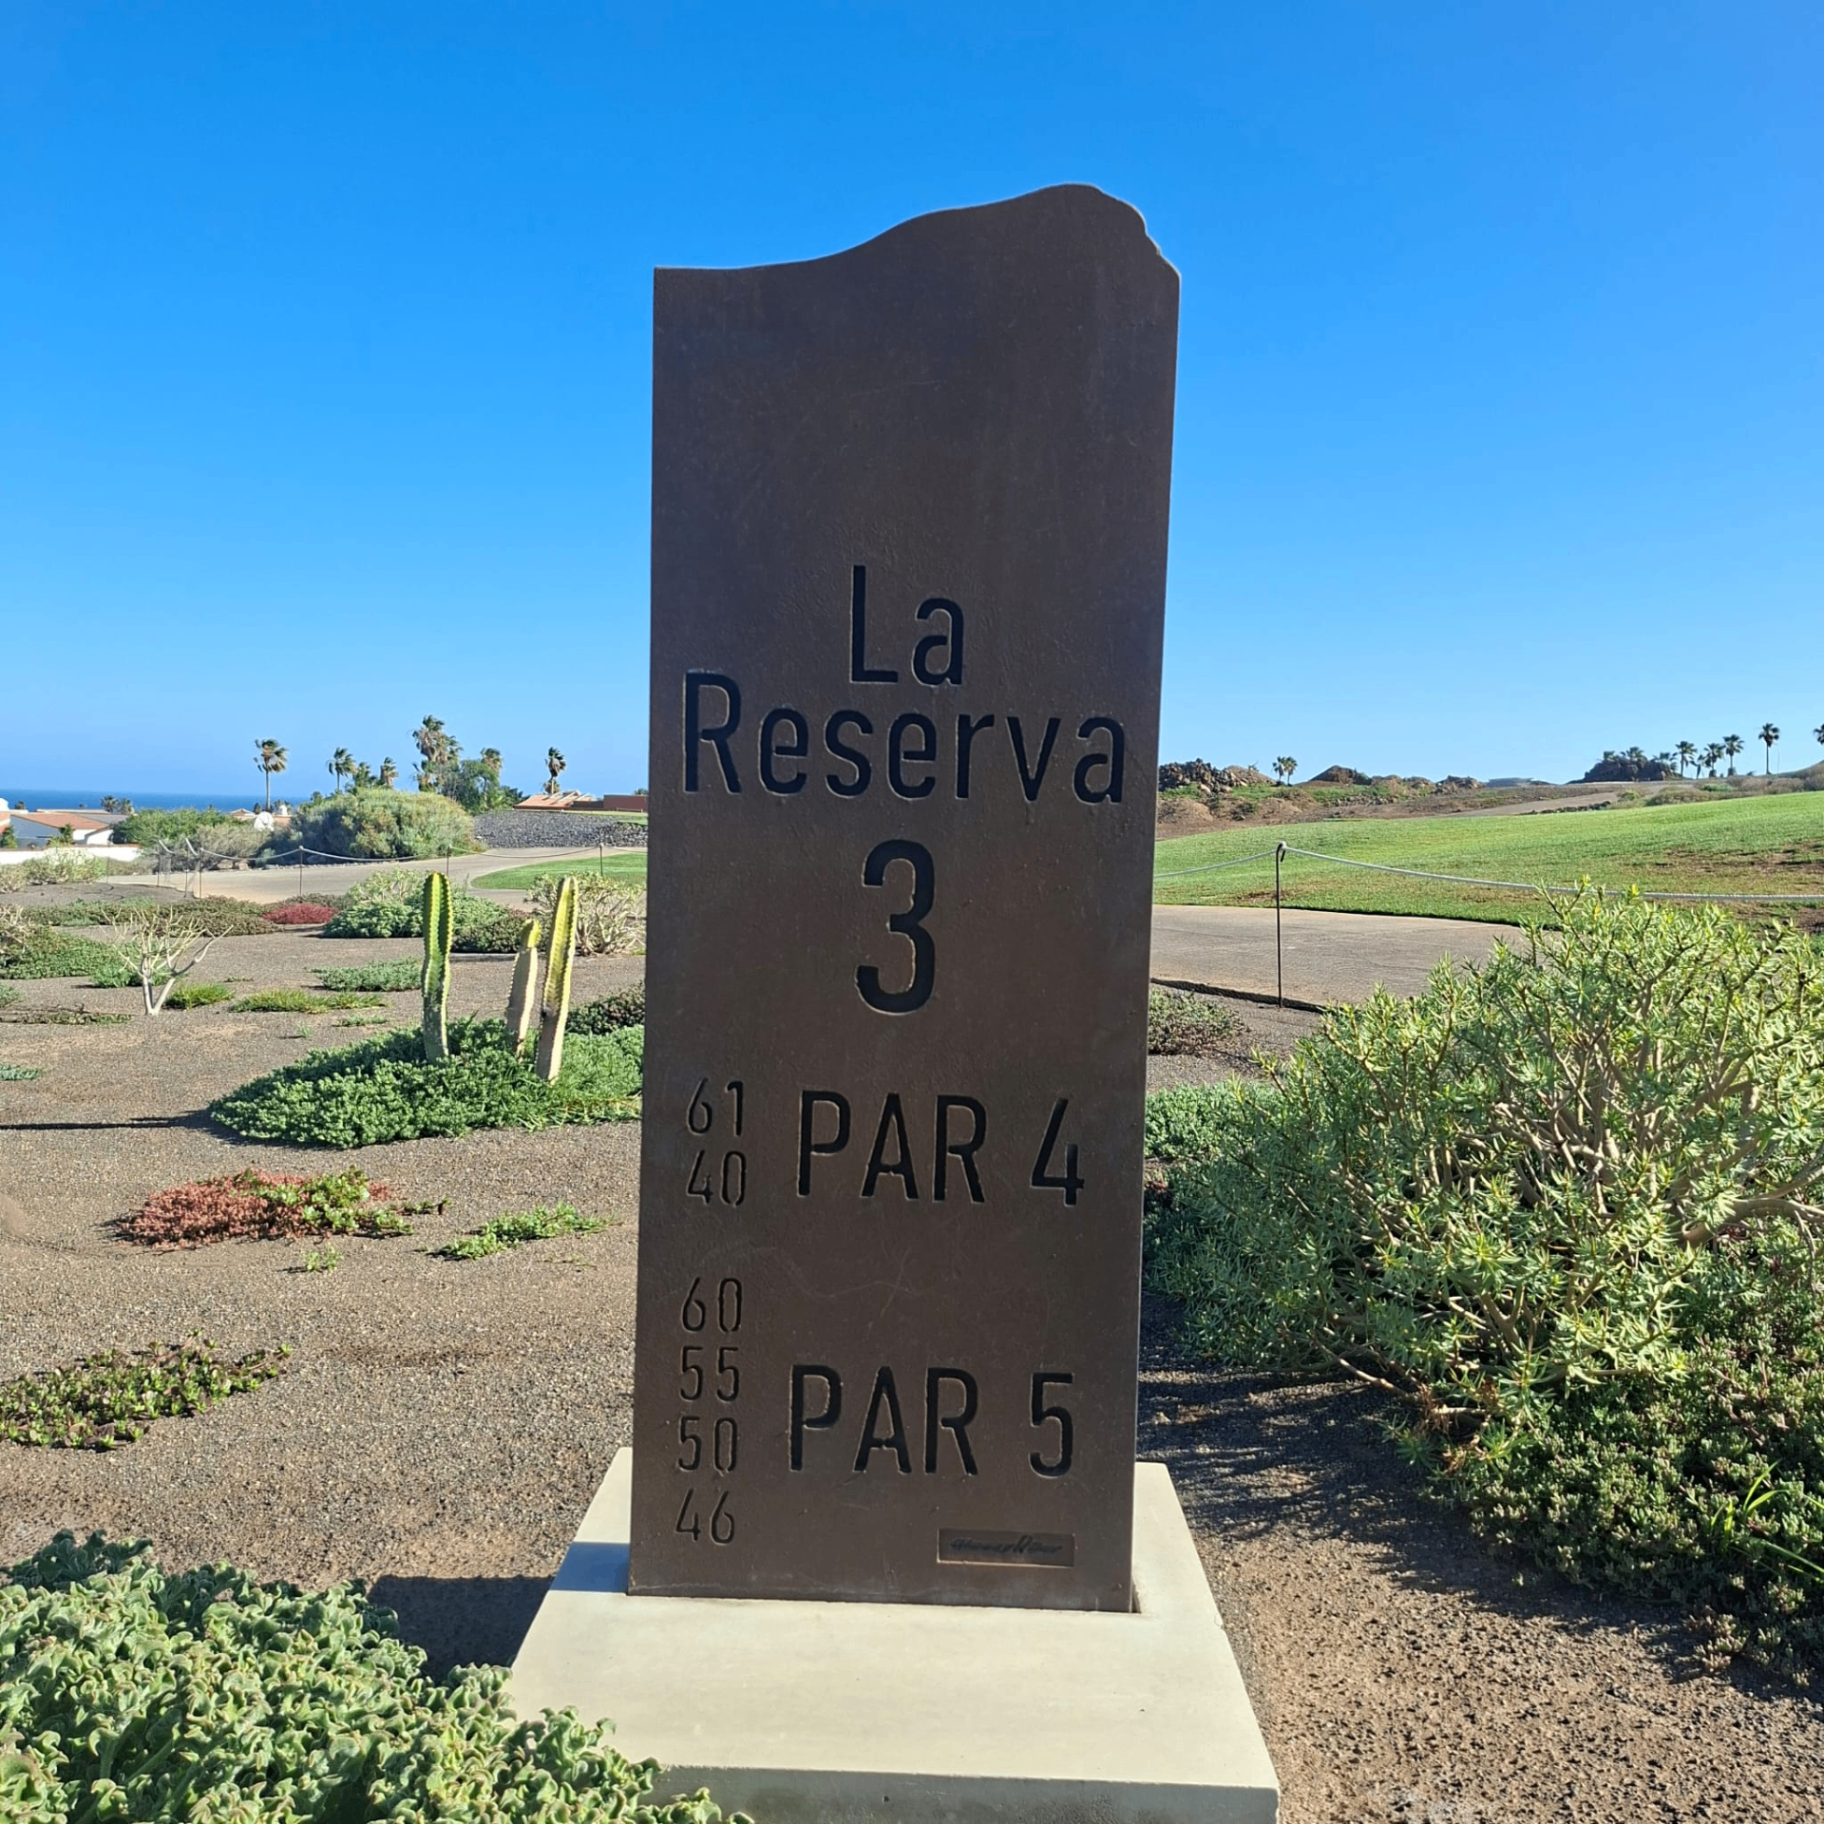
Hole 3 — La Reserva
03
Par 5
Hole 3

La Reserva

The signature hole. A long par 5 where the San Blas Nature Reserve runs along the right side from the tee. Several bunkers guard the left and two more sit in the center of the fairway. The ideal second shot is a lay-up to the left side, setting up a perfect approach into the green.

Key Strategy

Lay up left on your second shot for the ideal angle in.

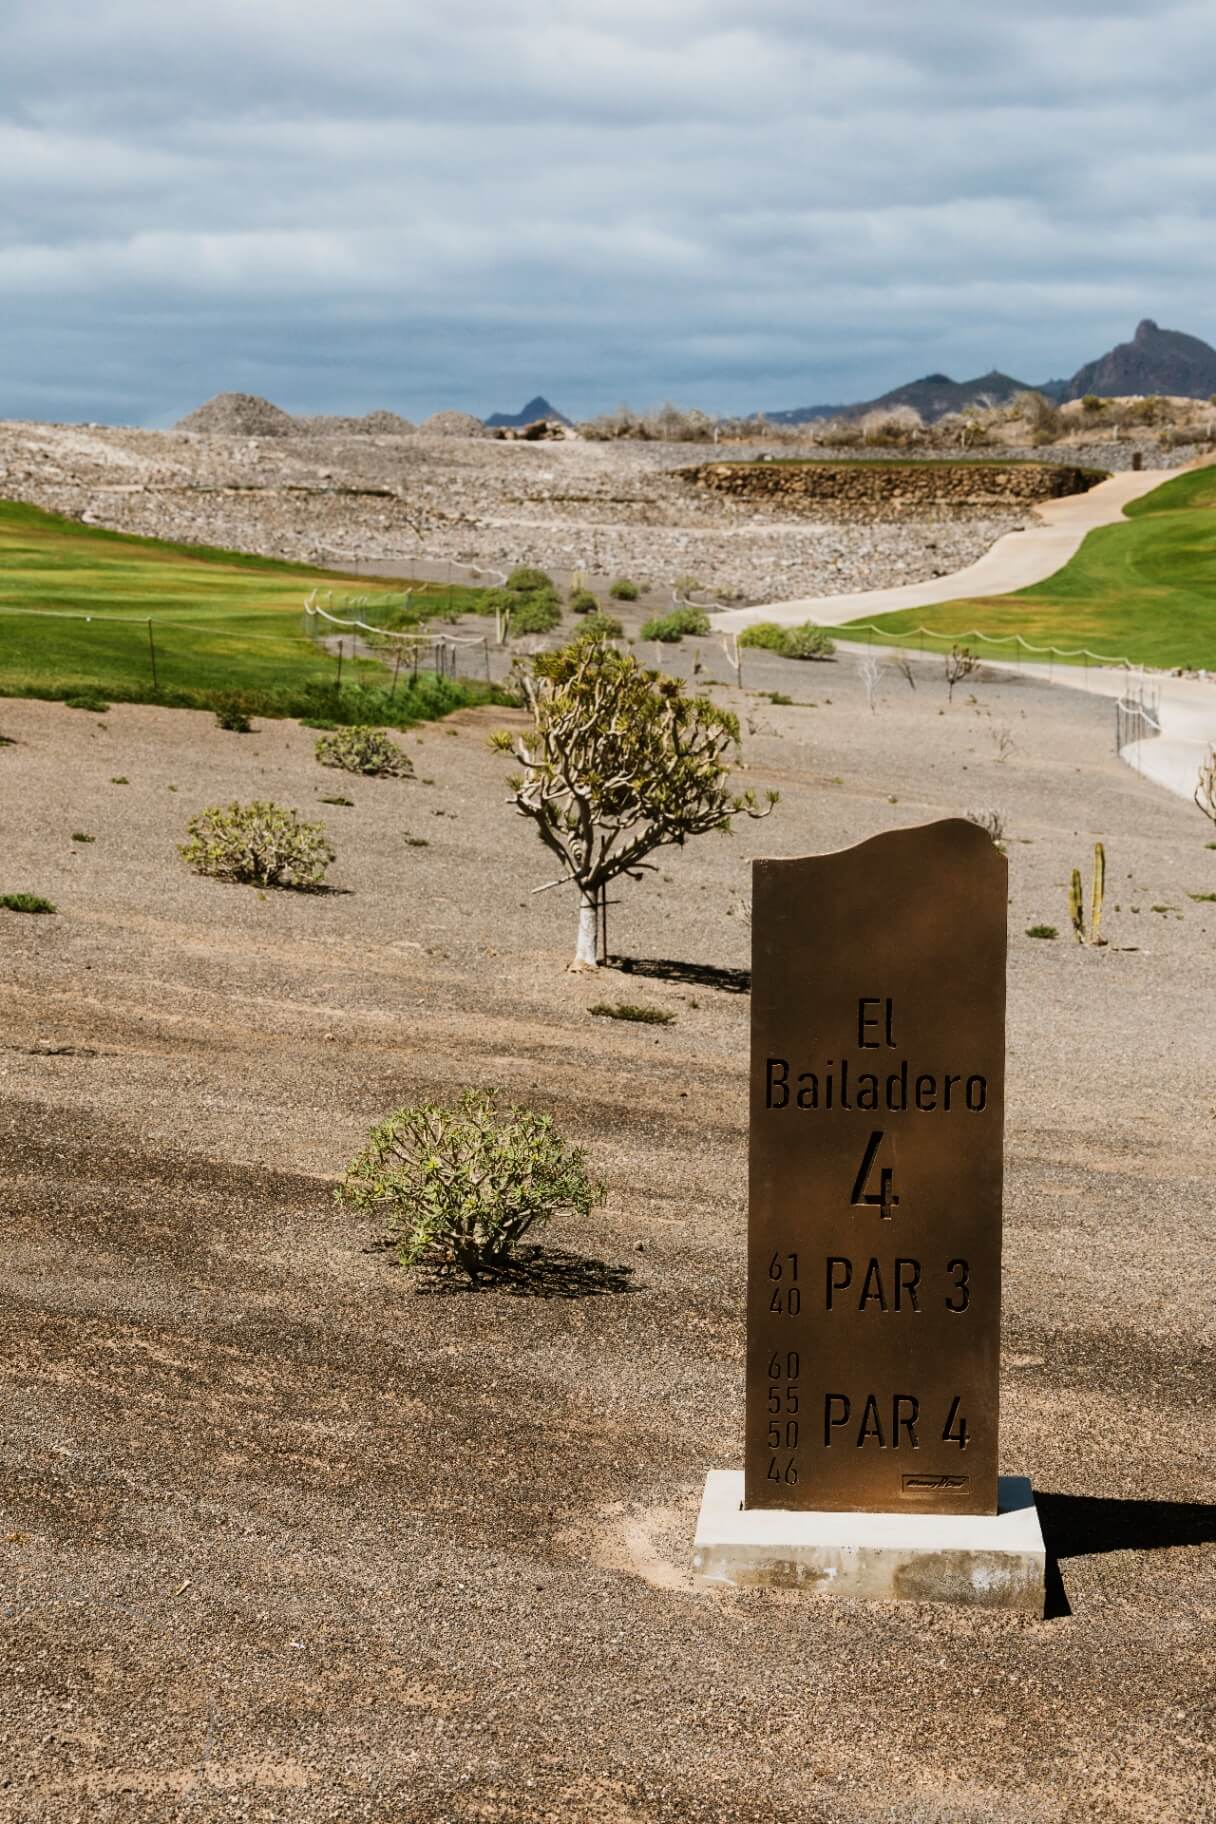
Hole 4 — El Bailadero
04
Par 4
Hole 4

El Bailadero

A reachable par 4, but very risky due to the hazard on the right. The smart play is to aim left, avoiding the bunkers. The second shot is best played by landing the ball on the left side of the green.

Key Strategy

Resist the temptation — aim left, play percentage golf.

Hole 5 — Atalaya
05
Par 5
Hole 5

Atalaya

A par 5 with noticeable slopes throughout. The priority is to secure the fairway from the tee and avoid the right side. A mid-iron to the second platform of the fairway will give you a clear view of the green. The third shot should approach from the right, as the green breaks right to left.

Key Strategy

Three deliberate shots — fairway, platform, then attack.

Hole 6 — El Cardón
06
Par 4
Hole 6

El Cardón

A par 4 with bunkers flanking both sides of the fairway. Aim for the center or slightly right off the tee. The green sits elevated on top of a hill — coming up short is simply not an option. Strategy is everything on the second shot. The green breaks from right to left.

Key Strategy

Commit to your second shot — the hill demands full commitment.

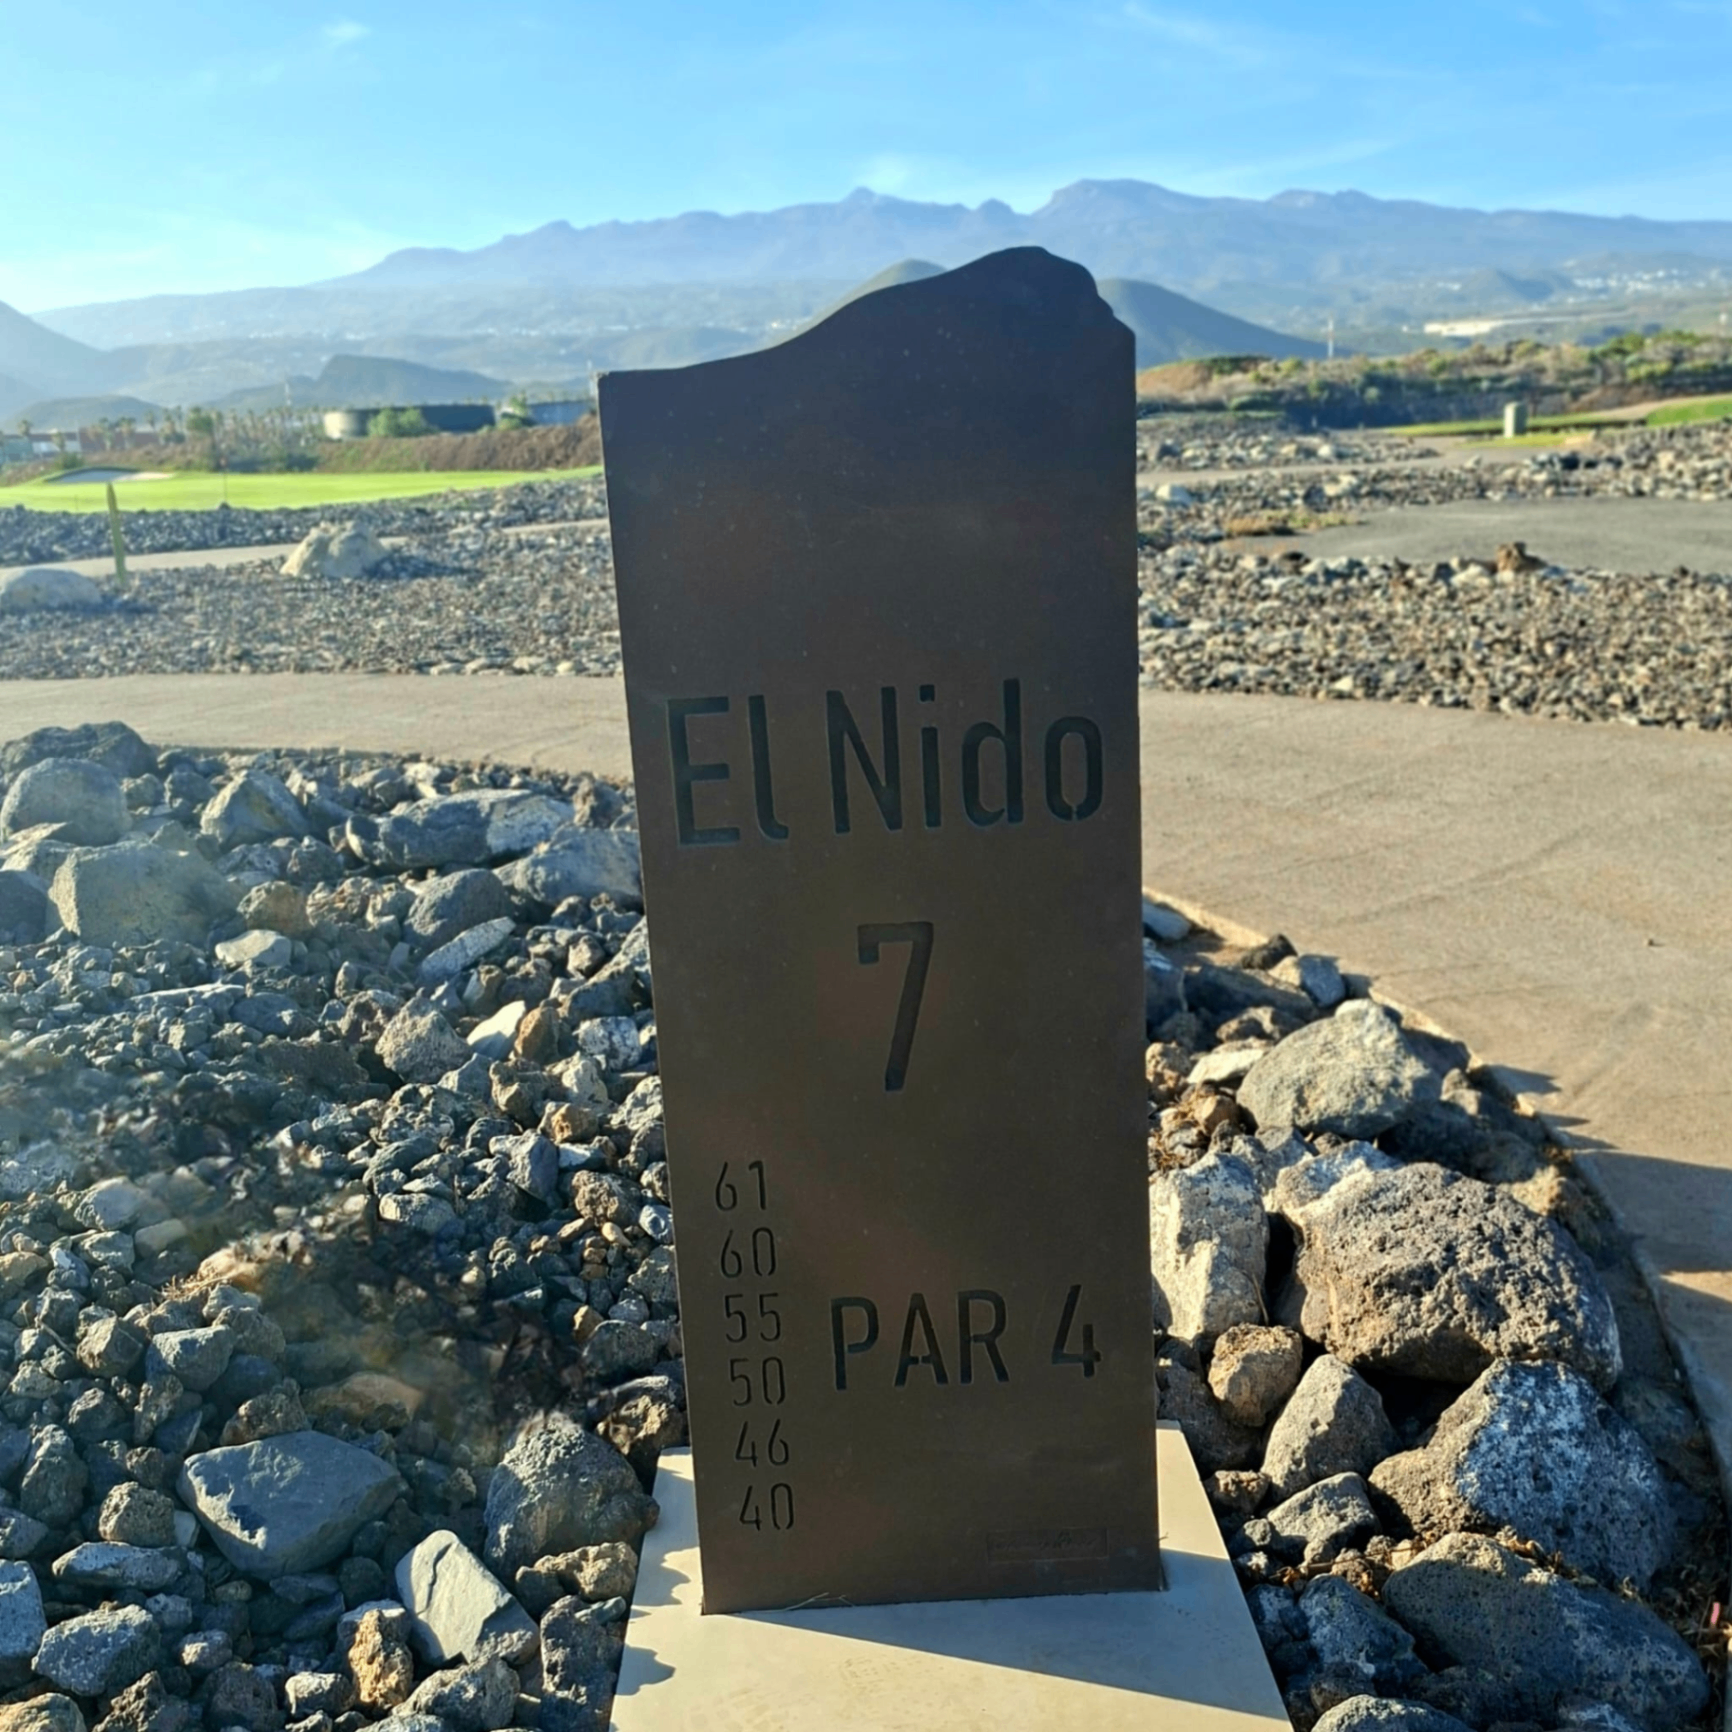
Hole 7 — El Nido
07
Par 4
Hole 7

El Nido

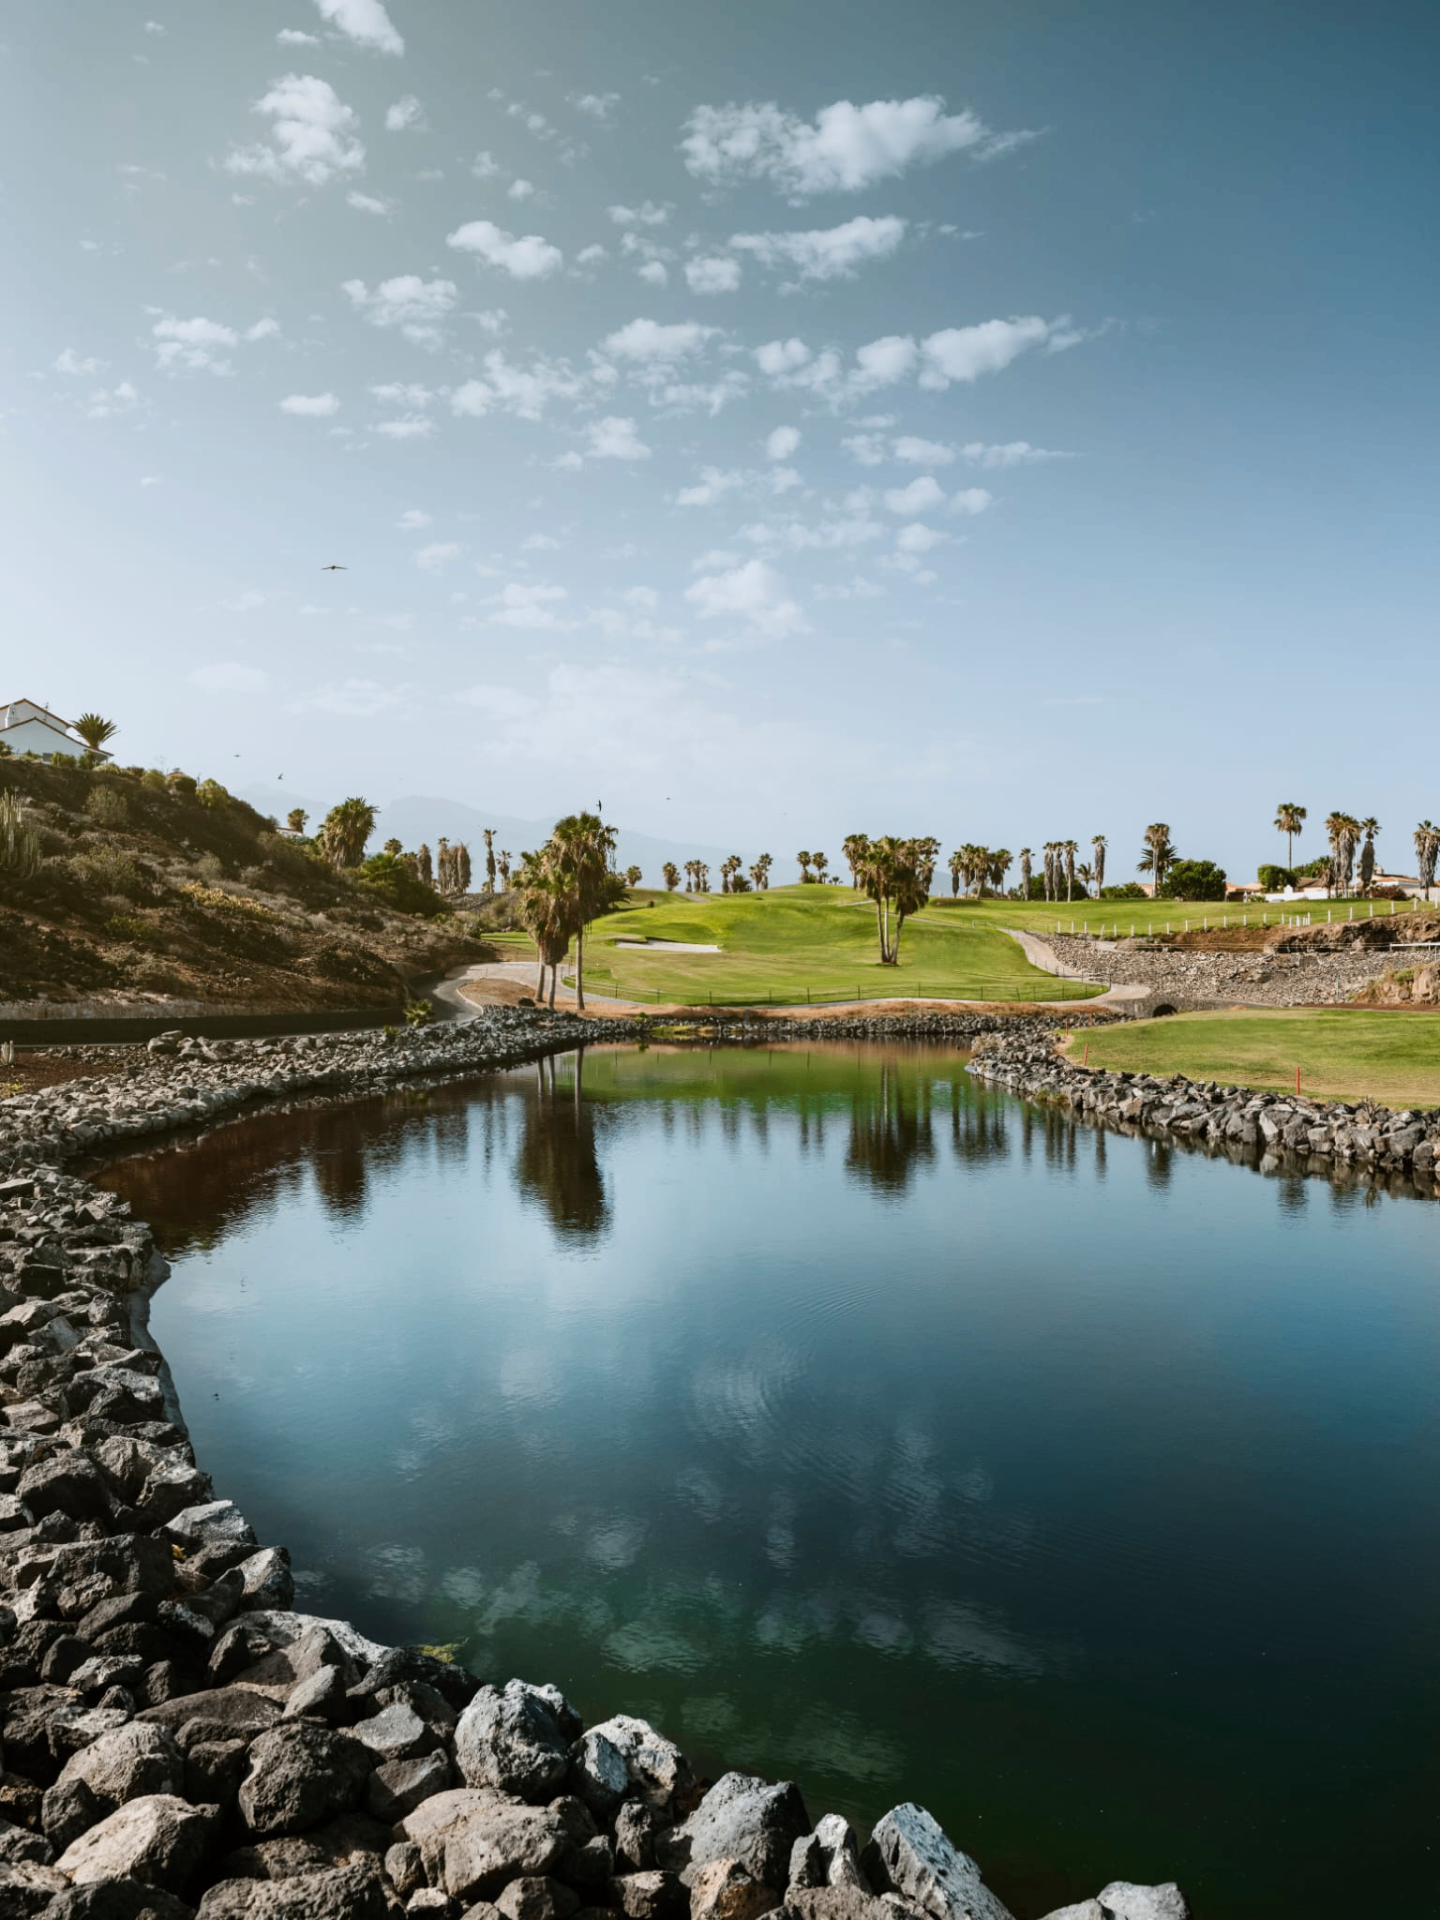
A par 4 where the ideal tee shot threads between the fairway bunkers. From that position, a large lake comes into play on the left side. Missing right is the safest play to set up a clear approach to the green.

Key Strategy

Find the gap off the tee — then play away from the water.

Hole 8 — El Estanque
08
Par 3
Hole 8

El Estanque

A par 3 where the prevailing wind typically runs left to right. Avoid the bunker sitting short of the green at all costs. Once you're on, a relatively flat and fair green awaits — one of the more generous putting surfaces on the course.

Key Strategy

Account for the crosswind and stay above the short bunker.

Hole 9 — El Paso
09
Par 4
Hole 9

El Paso

A demanding par 4 with out of bounds threatening both sides of the tee shot. Aim for the middle-right of the fairway to set up the approach. The second shot is a true challenge — played into a long, narrow green that demands precision and nerve.

Key Strategy

Play middle-right off the tee — precision is everything on the approach.

Holes 10–18
Back Nine
Hole 10 — Pandion Clock
10
Par 4
Hole 10

Pandion Clock

Three fairway bunkers await from the tee. Aim slightly to the right of the central bunker. From there you'll be playing from an elevated position to a blind green — pick a reference point and take a look over the hill before committing. Avoid the right side on the approach. The green is fast, generally flat, but breaks from right to left.

Key Strategy

Pick your reference point — the blind green rewards the prepared mind.

Hole 11 — Atlantic
11
Par 3
Hole 11

Atlantic

Not a long hole, typically requiring a short iron. The prevailing wind is usually from right to left, so carry the bunker on the right side of the green. A slope on the right side makes it difficult to judge bounce and roll from the tee. Club selection is absolutely critical.

Key Strategy

Carry the right bunker — the slope will punish anything short.

Hole 12 — La Colada
12
Par 4
Hole 12

La Colada

A par 5 with a demanding tee shot where out of bounds lurks on the left. Stay clear of the bunkers on that side too. Once you've navigated the tee shot safely, the hole opens up beautifully towards the green awaiting further ahead.

Key Strategy

Hug the right side off the tee — the fairway opens up from there.

Hole 13 — Hoya del Charco
13
Par 5
Hole 13

Hoya del Charco

A par 5 with a challenging tee shot. The left side of the fairway offers more room and is the safer target. For the second shot, lay up short of the water. On the third, aim right of the green — the left side presents real danger and should be avoided.

Key Strategy

Lay up short of water and attack from the right on your third.

Hole 14 — El Mirador
14
Par 4
Hole 14

El Mirador

A strategic par 4 with fairway bunkers guarding both sides. Favour the left off the tee to avoid trouble on the right. The green is elevated and slopes from back to front — accuracy on the approach is essential to avoid rolling through.

Key Strategy

Favour left off the tee and keep your approach below the hole.

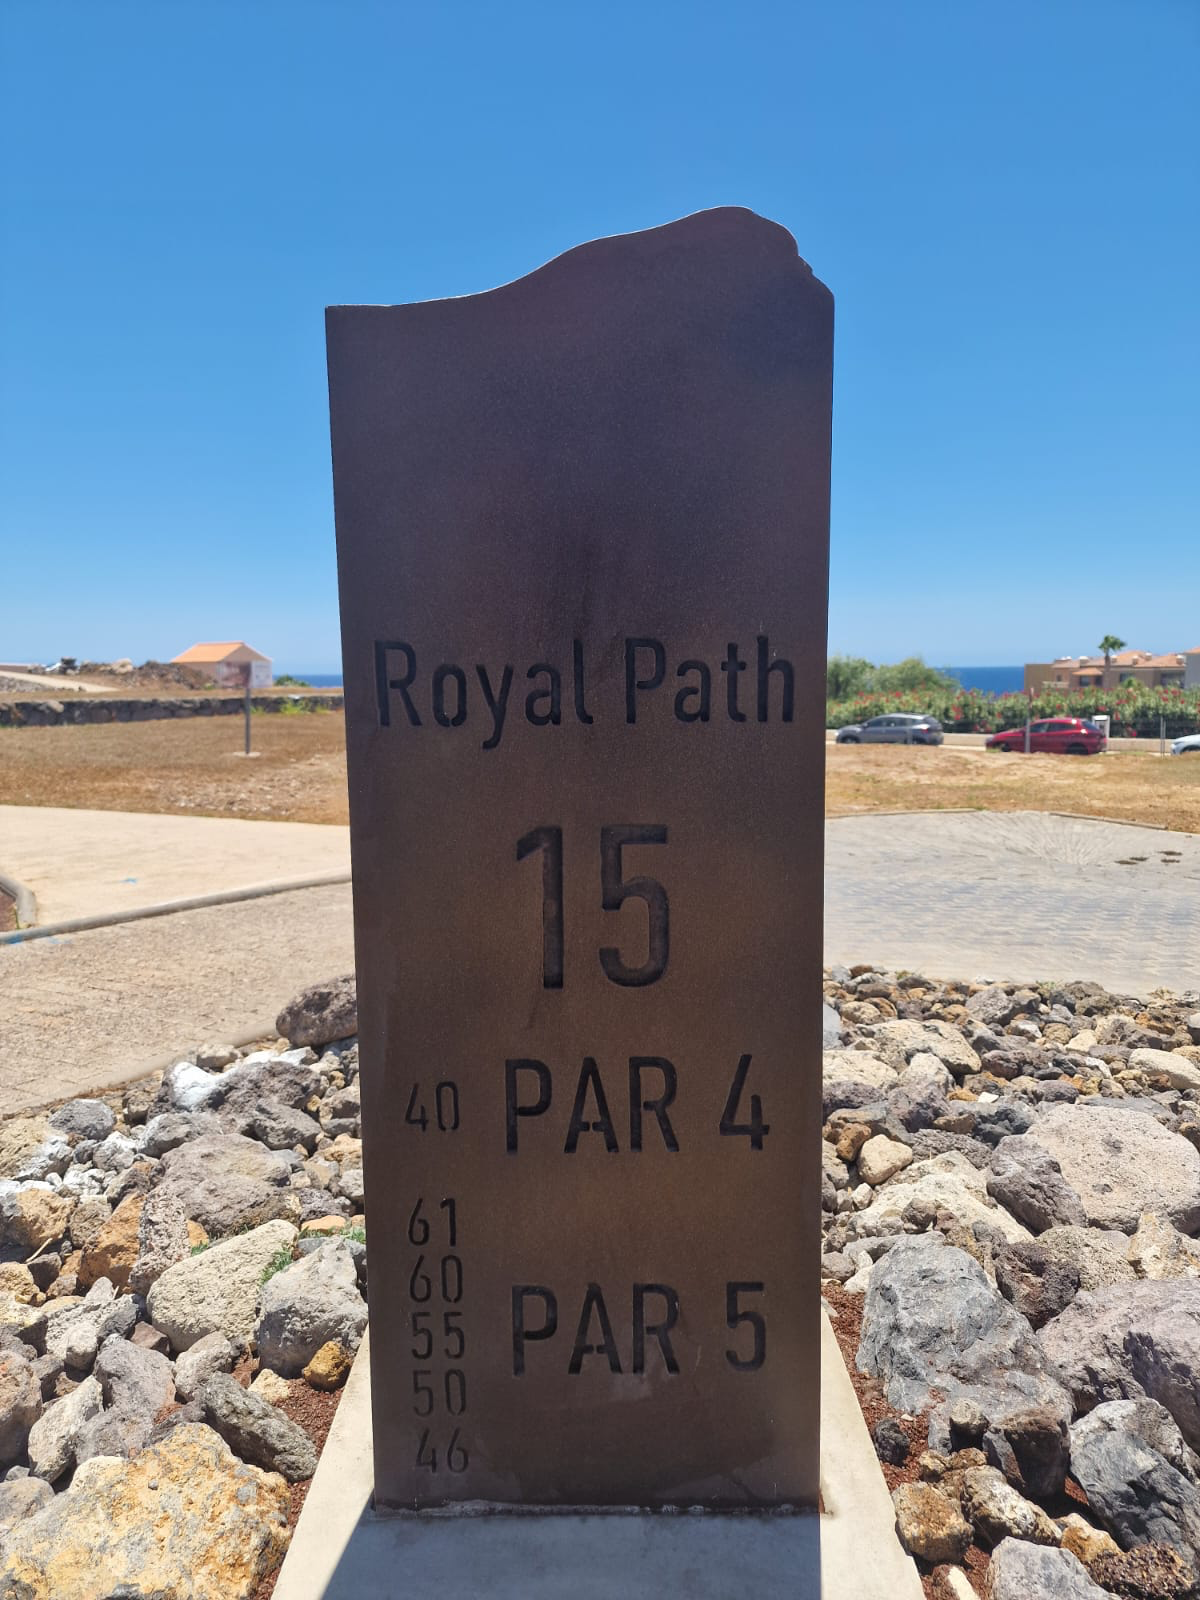
Hole 15 — Royal Path
15
Par 4
Hole 15

Royal Path

An uphill par 4 requiring a strong tee shot. The green is well-protected by a bunker on the left. The prevailing wind usually plays from right to left. Aim for the centre of the green to leave yourself the easiest possible putt.

Key Strategy

Aim centre — the wind and the bunker will deal with anything offline.

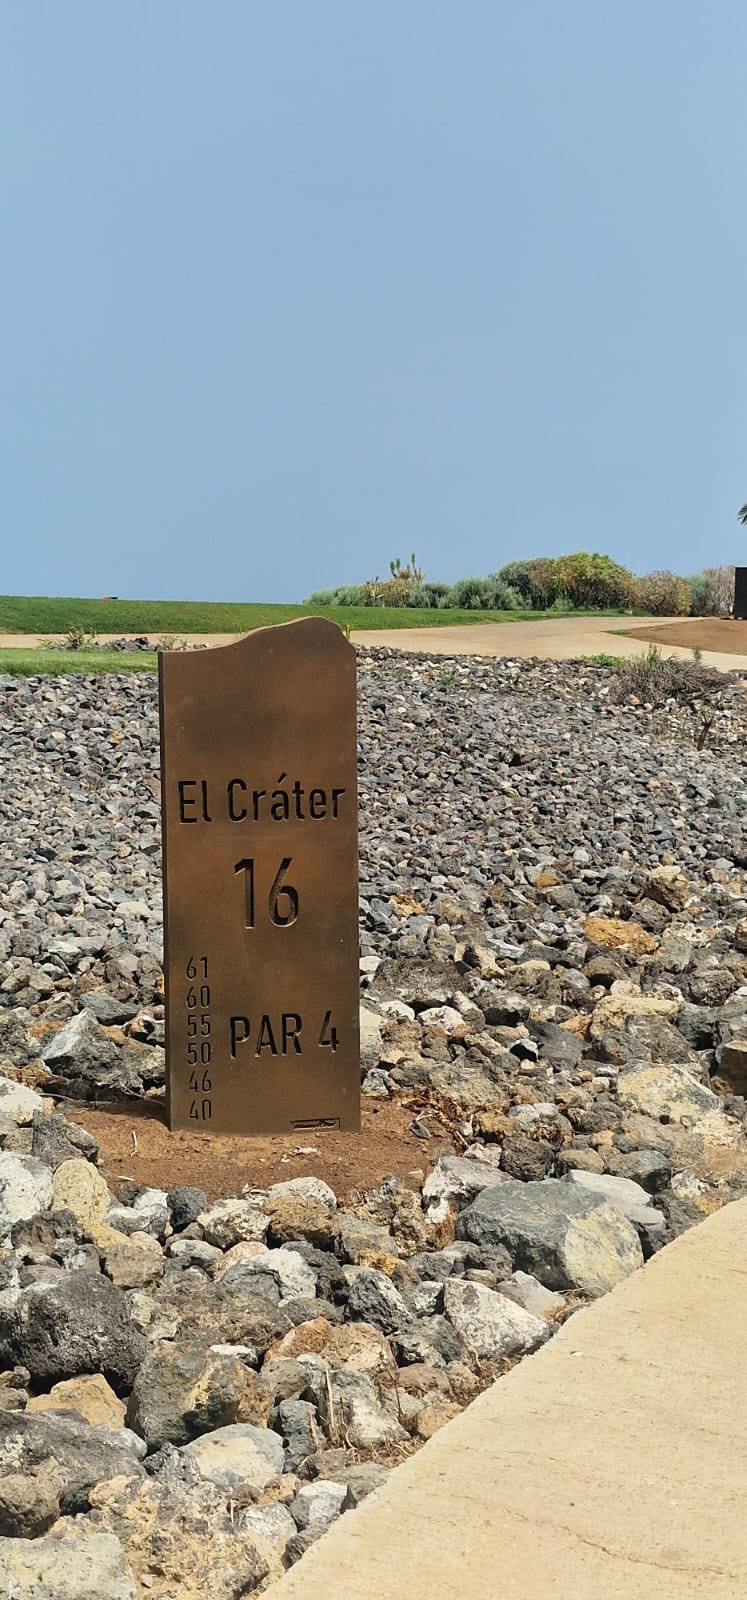
Hole 16 — El Cráter
16
Par 4
Hole 16

El Cráter

A risk-reward par 4. The tee shot offers a wide fairway but trouble lurks on the left. Aggressive players can attempt to cut the corner, but a conservative shot to the centre is always a sound option. The uphill green features a subtle undulation and breaks gently from left to right.

Key Strategy

Bold players cut the corner — the wise ones find the centre and make par.

Hole 17 — El Doble
17
Par 4
Hole 17

El Doble

A long par 5 with a narrow fairway. Accuracy off the tee is critical — bunkers and hazards line the left. Lay up short of the greenside bunkers on your second, and play your approach with controlled spin. The green slopes from back to front, making it vital to stay below the hole.

Key Strategy

Precision over power — every shot on this hole must be deliberate.

Hole 18 — El Desenlace
18
Par 3
Hole 18

El Desenlace

The finishing hole — a challenging par 4 with a strategic bunker on the left. The elevated green slopes from right to left, making the approach shot decisive. Finish your round with composure and your score will reflect it.

Key Strategy

One final composed swing — the green rewards accuracy, not aggression.

ReadyReadytotoTakeTakeononthetheCourse?Course?

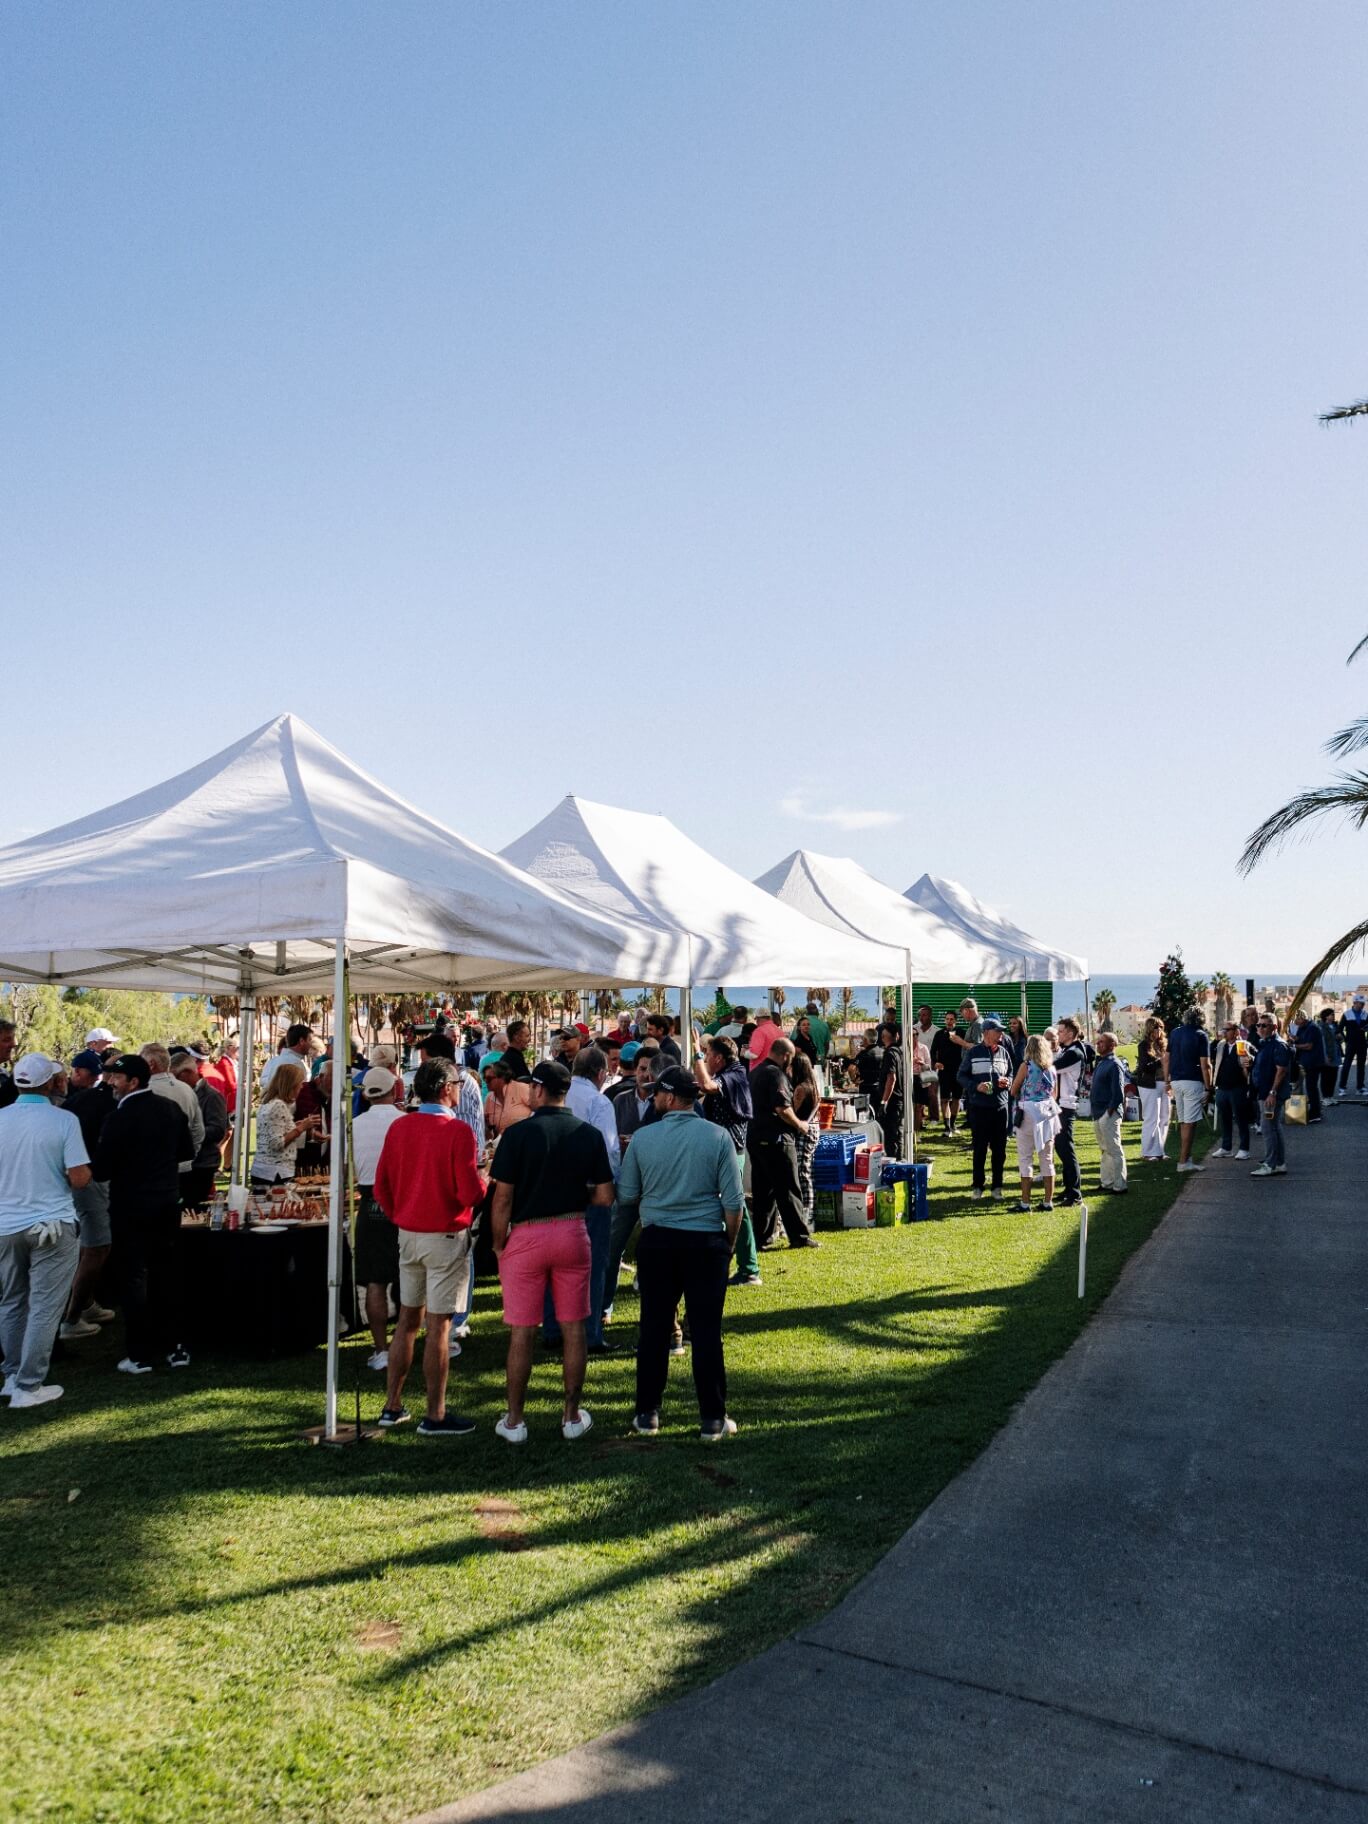
Experience Golf del Sur's championship layout for yourself. Book your tee time and play the course that has hosted legends.